The Prospect Edit search screen displays, as shown below.
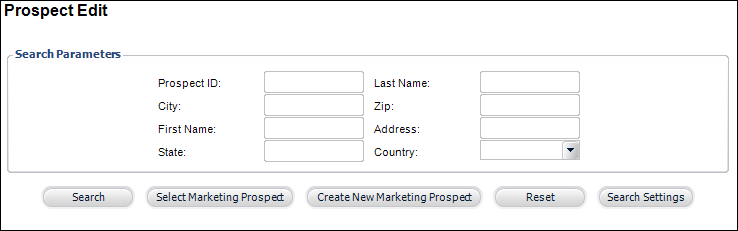
The Prospect Edit screen provides a way for you to edit a specific record in the prospect list after that list has been generated. From this screen you can view and change any prospect information.
To create a new prospect:
1. From
the toolbar, select Marketing & Communication
> Prospect Edits.
The Prospect Edit search screen displays, as shown below.
2. Click
Create New Marketing Prospect.
The Prospect Edit screen displays, as shown below.
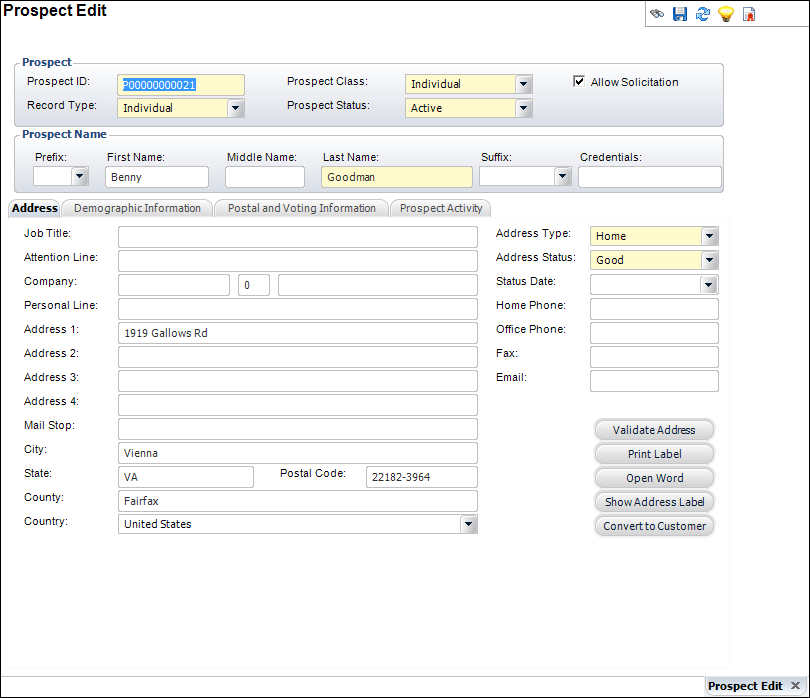
3. If necessary, change the Prospect ID.
4. Select the Record Type from the drop-down.
5. Select
the Prospect Class from the
drop-down.
The options differ depending on the Record Type selected.
6. Select the Prospect Status from the drop-down.
7. If necessary, check the Allow Solicitation checkbox.
8. Enter the prospect's Last Name.
9. If necessary, enter the prospect’s Prefix, First Name, Middle Name, Suffix, and Credentials.
10. Access the Address tab to add prospect address information.
11. Access the Demographic Information tab to add prospect demographic information.
12. Access the Postal and Voting Information tab to add prospect postal and voting information.
13. Access the Prospect Activity tab to add prospect activities.
14. Click Save.
|