The first step in creating an order for a membership product is to select the membership product and add it to the order. Selection of the primary membership product as the first line in the order is important for setting this membership up for next year’s renewal. The Begin Date and End Date of this primary membership will govern the dates of all secondary membership lines, such as chapters or subscriptions.
It is important that the primary membership products are setup as master products and secondary membership products, such as chapter membership products, are NOT master products.
To add a membership product to an order:
1. From the Order Entry search screen, search for the appropriate customer and click Create New Order.
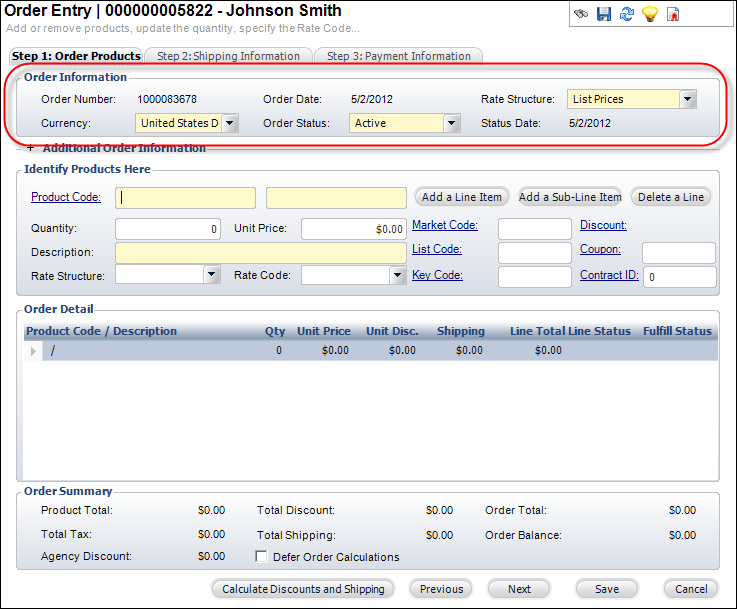
2. If necessary,
update the Order Information section, as highlighted below:
a. Select a different
Currency from the drop-down.
As of the 7.1.3 release, Personify supports multi-currency. Currencies
(including the base currency) are defined using the Currency
Exchange Rate Maintenance screen. The values available in the drop-down
are populated from the APP_EXCHANGE_RATE table.
b. Select a different
Rate Structure from the drop-down.
This applies to the entire order. By default, when creating a new membership,
the Rate Structure will be “List Price”.
3. Add a master Membership Product to the order using one of the following ways:
a. The Identify Products
Here section (as highlighted below).
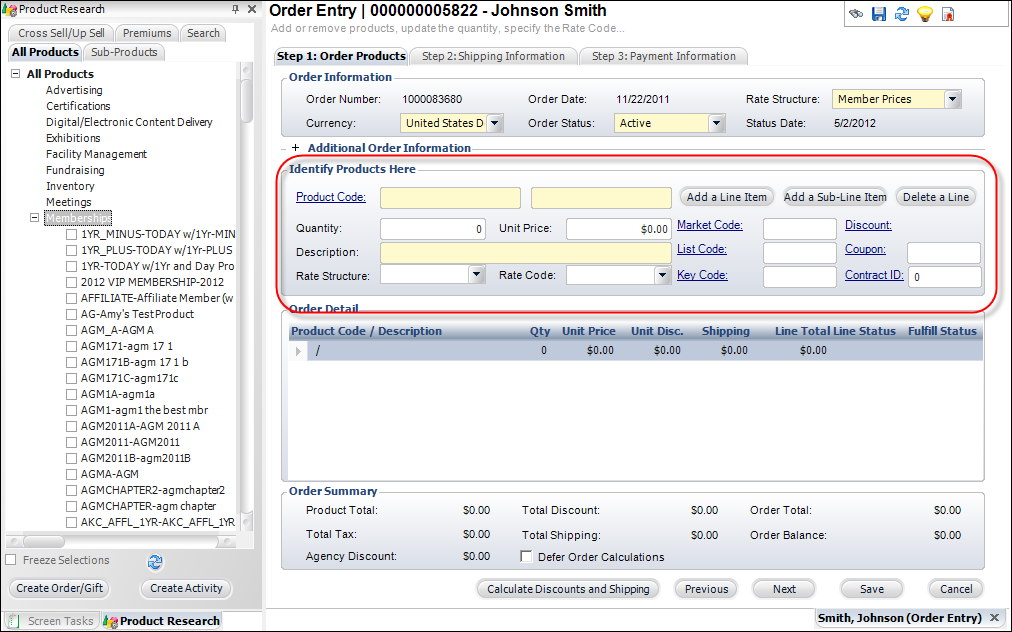
i. Click Add a Line Item.
ii. Click the Product
Code link to search for a Membership Product.
The Choose Product screen displays.
iii. Search for a product and double-click the appropriate product.
b. The Product Research
tab (as highlighted below).

i. Expand the All Products category.
ii. Expand the Membership category.
iii. Select the checkbox next to the appropriate product.
iv. Click Create Order/Gift.
![]() To
delete a line item, click Delete a Line.
However, if an order line has a Far_Txn record with a Txn Type Code of
1, 3 or 9, it cannot be deleted.
To
delete a line item, click Delete a Line.
However, if an order line has a Far_Txn record with a Txn Type Code of
1, 3 or 9, it cannot be deleted.
4. If necessary,
click Add a Sub-line Item.
If the order line ship-to customer is the same as the order master ship-to
customer, then order line ship-to address will default to the order master
ship-to address.
5. If necessary,
change the Unit Price.
This field is only enabled if the “Allow Price Update” checkbox was selected
during the creation of the product.
6. If necessary, change the Description.
7. The Rate Structure and Rate Code values default based on the customer’s status and apply to the highlighted line item in the Order Detail section. Rate codes can be changed for one year, two year, or other special rates, as set up by your association when creating the membership product. If necessary, change these values.
8. Enter the appropriate
codes and discounts, as highlighted below:
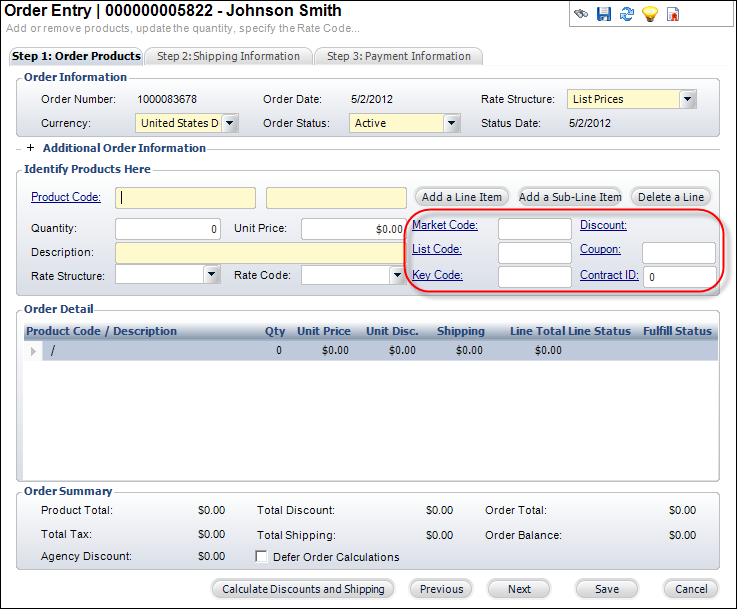
a. Market Code: This code identifies the source of an order if it is based on a promotion created for a marketing campaign.
b. List Code: This code identifies the mailing list from which the customer was solicited.
c. Key Code: This code identifies the combination of the marketing piece (e.g., brochure, mailing, etc.) and list code used to solicit the customer. Selecting a value automatically populates the Market Code and List Code.
d. Discount Code: The discount code associated with the line item. If there is an automated discount for membership, the discount code will appear and a discount amount will be displayed in the Unit Disc. column. If necessary, a manual discount can also be added here. Please note that the line item will no longer be considered for an automatic discount once you apply a manual discount. If a 100% discount is added to a proforma order line, the order line will go active.
 To
remove a discount code, right-click the Discount ID and select Clear.
To
remove a discount code, right-click the Discount ID and select Clear.
e. Coupon Code: The code for the coupon used for the order. If a coupon code is added to the order, the coupon will automatically be applied to each line item.
9. Click the (+)
button next to Additional Order Information to view additional order details,
such as marketing information specific to the entire order.
For more information, please see the Adding
Additional Information to a Membership Order section before completing
the order.
10. Update the Order
Summary section, as highlighted below:
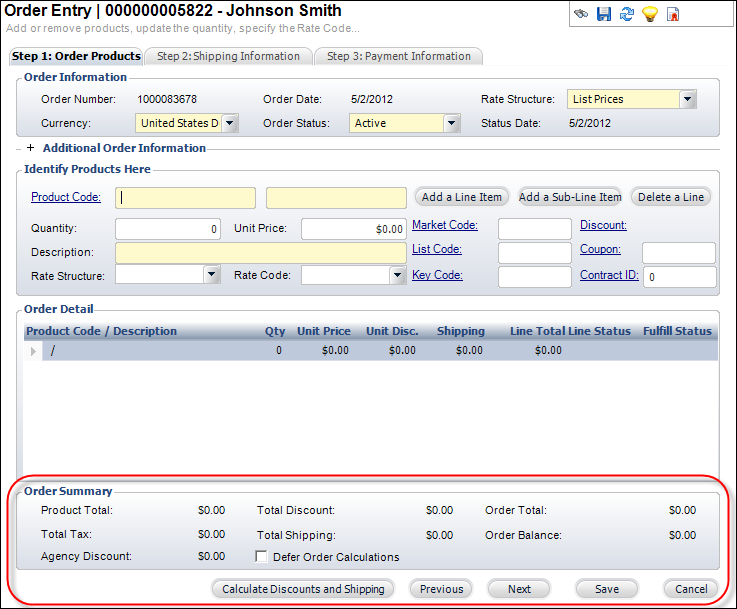
a. If you are creating
an order that is over 30 lines, select the Defer Order Calculations
checkbox to speed data entry.
When checked, the application does not calculate the order summary until
you save the information or click Calculate Discounts and Shipping.
b. If necessary,
click Calculate Discounts and Shipping.
Please note that as of 7.4.2, if a discount is applied to an order after
a "Manual" payment schedule has been created, the system will
update the order line total and scheduled payment amount accordingly,
but will not update the scheduled payment percentages. For more information
on applying discounts to a product, please see the Linking
Coupons to Products.
11. Click Save.