The Subcodes Maintenance screen displays, as shown below.
After the Type and Code is defined or selected, Subcode values can be defined, if necessary. These subcodes are used to further classify coded values and are only applicable on screens that use the major/minor code. For example, Contact Tracking or List Demographics.
To define subcodes:
1. Select System Admin > System Codes > System Types and Codes from the toolbar.
2. Search
for and select an existing system type code or create
a new system type code.
The Types and Codes Maintenance screen displays.
3. Click
Edit Codes from the Code
Types task category or click Edit Codes
for this Type.
The Codes Maintenance screen displays.
4. From
the Code Detail section, click Edit Subcodes
for this Code.
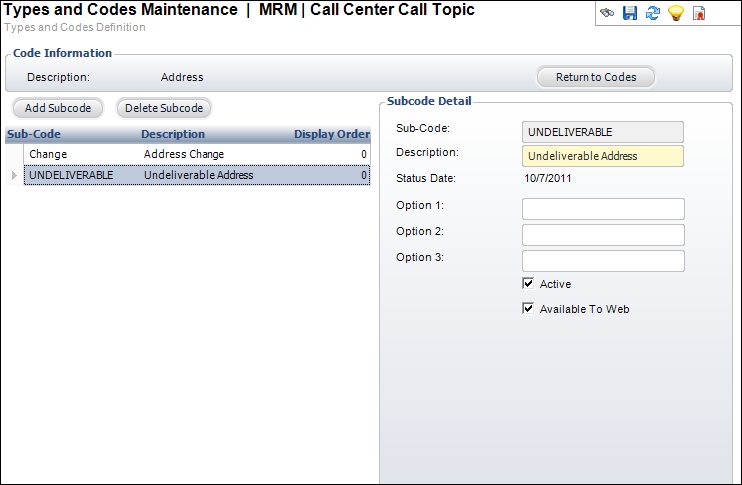
The Subcodes Maintenance screen displays, as shown below.
5. Click Add Subcode.
6. Enter the Sub-Code.
7. Enter the Description of the subcode.
8. If necessary, enter Options 1-3.
9. By default, the Active checkbox is selected. If necessary, uncheck this.
10. If necessary, select the Available To Web checkbox.
11. Click Save.
Screen Element |
Description |
|---|---|
Add Subcode |
Button. When clicked, a new row is added to the table and the Code Detail fields are enabled. |
Delete Subcode |
Button. When clicked, the highlighted subcode from the table is deleted. |
Return to Codes |
Button. When clicked, you are returned to the Codes Maintenance screen. |
Sub-Code |
Text box. A unique code for the subcode. |
Description |
Text box. The description of the subcode. |
Status Date |
Read-only. The date the active status was last updated. |
Active |
Checkbox. When checked, indicates the subcode is active. When unchecked, indicates the subcode is inactive and will not display as an option on its related screen. |
Available To Web |
Checkbox. When checked, indicates the code is available on the Web. |