 Email
templates are defined based on the Org ID/Org Unit and are not shared
across Org Units.
Email
templates are defined based on the Org ID/Org Unit and are not shared
across Org Units.
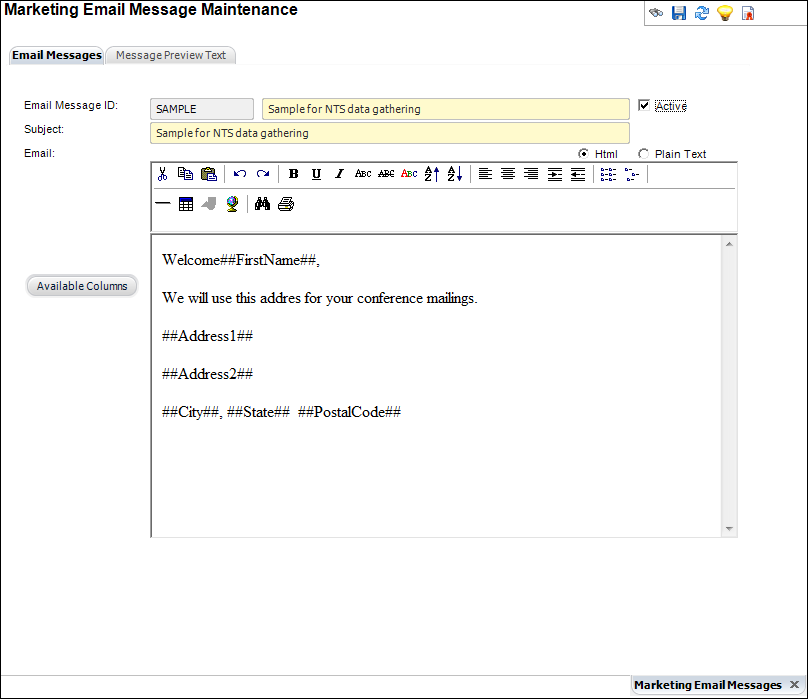
The Marketing Email Message Maintenance screen allows you to save and reuse messages to be used on different marketing lists. Most of the functionality for this screen can be applied to marketing. However, the Available Columns button is not used in the marketing application. Prospect records have no order or activity records associated with them, and so as a result, only columns available in both the Marketing Prospect and Customer tables are used.
Email
templates are defined based on the Org ID/Org Unit and are not shared
across Org Units.
The Message Preview Text tab displays the sample email body for the selected event. Any columns used in the email body are replaced with the test data found in the Marketing Email Column table.
Personify
replaces only exact matches where brackets are used. If a typo or other
error occurs, Personify does not replace the value with the data shown
as typed.
As
of 7.4.1SP1, email message sent via MKT800 can be viewed in CRM360. However,
because the system displays the latest version of the email message template,
if you modify an email message template that has already been sent out
via MKT800, the CRM360 screen will display the updated email message template,
as opposed to the email message template sent to the customer.
To create a new email message:
1. From
the toolbar, select Marketing & Communication
> Email Messages.
The Marketing Email Message Maintenance search screen displays, as shown
below.
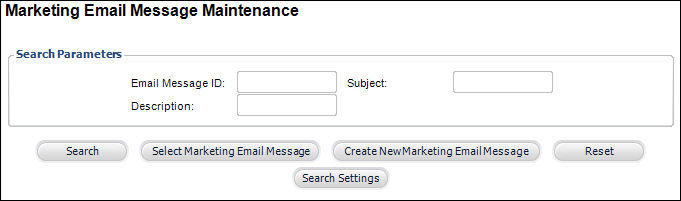
2. Enter your search criteria in the corresponding fields and click Search.
3. Select
a list from the results grid.
The Marketing Email Message Maintenance screen displays, as shown below.
4. Click
Create New Marketing Email Message.
The Marketing Email Message Maintenance screen displays.
5. Enter
the Email Message ID.
Enter the code in the first text box and the long name in the second text
box.
6. Enter the Subject of the email.
7. If applicable, check the Active checkbox.
8. Select whether you want the email to be in HTML or Plain Text format.
9. Enter the body of the email.
10. To
enter variables of text (text that will be replaced with a customer name
or address, for example) click the Available
Columns button.
The Generic Chooser displays.
11. Select the appropriate column name and click Select.
12. Click
the Message Preview Text tab to
preview the email, as shown below.
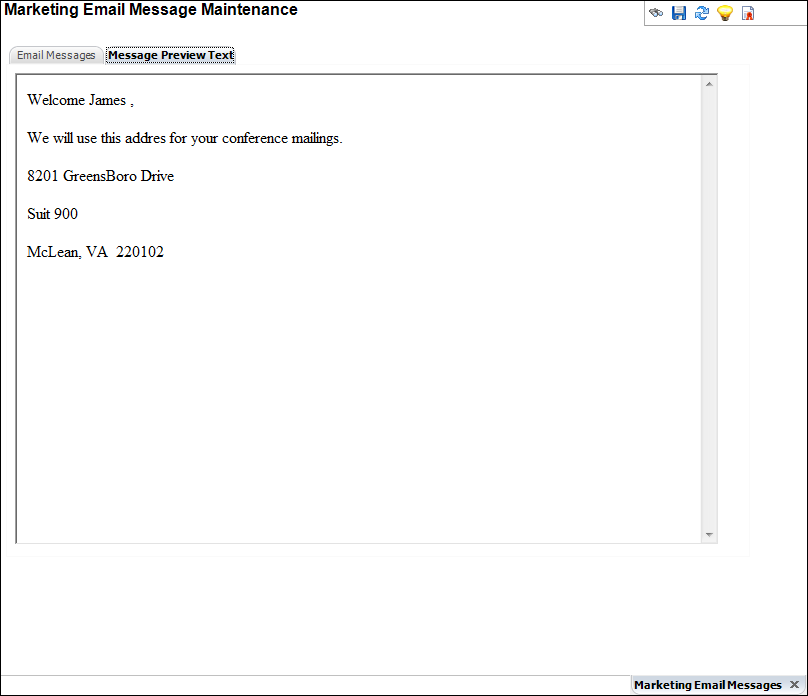
The variables populate to show you how the email will display to the receiver.
13. Click Save.
|