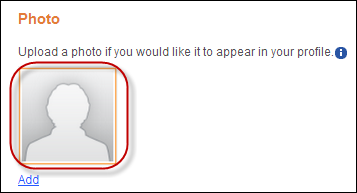
This is the image that displays if a user does not have a profile image, as displayed below.
The Photo control will allow your user to view, edit, delete, and upload
a picture to the e-Business website. The photo is stored in the back office,
and displayed on this control. See Adding/Changing
a Constituent's Image in CRM360®
for more information on how this information is configured in the back
office.
See Configuring the Web Settings
for the Photo Control for more information on how to drop this control
onto a page on your e-Business website.
The Photo control does not require any additional back office configuration. All data displayed in this control is based off your user information.
The following image files need to be copied to the Image Directory, which is the directory that was set up in this control:
· DefaultPhoto.png
This is the image that displays if a user does not have a profile image,
as displayed below.
![]()
· PhotoInfor.png
This is the information icon image that displays below your user's photo,
as displayed below.

If these files are not copied into the Image directory, your user's image
will not display, as shown below.

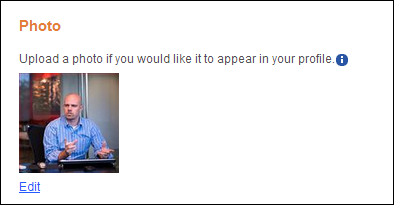
After setting up the Photo control, your users will see the control
similar to the one displayed below.
The file size limit that can be uploaded is 200 KB. This can be customized to allow users to upload larger file sizes.
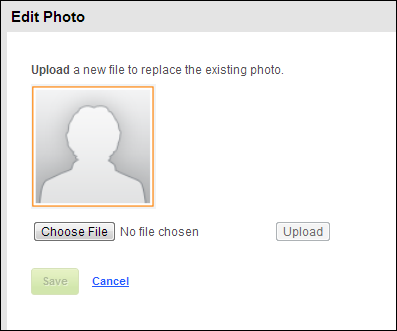
If the user selects Add or Edit, the Edit Photo screen
displays, as shown below. In order for the user to upload or edit an existing
photo, he/she has to select Choose a File. The Open window displays.
Next, the user clicks Upload, and finally, he/she clicks Save.
The picture is uploaded to the user's profile.
If the user clicks Cancel, the image does not get uploaded and
the picture is defaulted to the default image, as highlighted below.