The Select A Web Control window displays.
To configure the web settings for the Search control:
1. Log into your e-Business site as host.
2. Create
a new page on your site.
See Adding and Managing Pages for
information on how to add a page to your website.
3. Add
the Personify- DNN Web Control Container
module to the page.
See Installing .NET Controls
for more information.
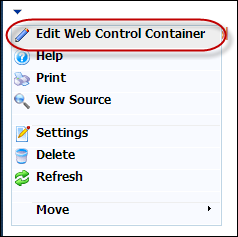
4. Select
the Edit Web Control Container option from the downward arrow icon,
as highlighted below.
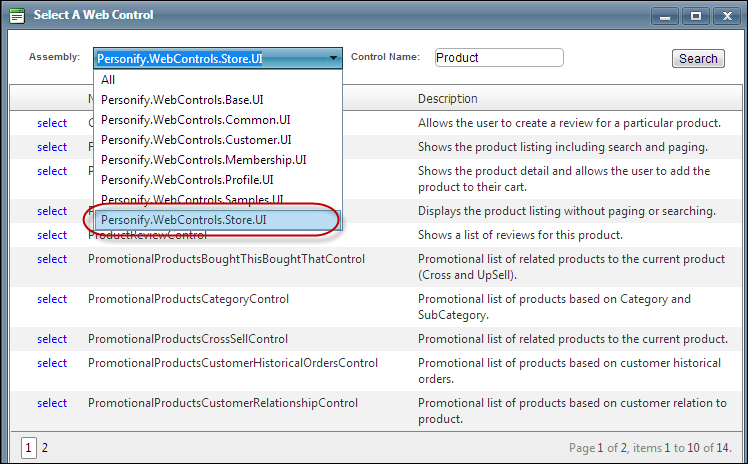
The Select A Web Control window displays.
5. From
the Assembly drop-down, select
"Personify.WebControls.Store.UI",
as highlighted below.
6. Optional:
select or create a new Error Message.
The error message will display on the control for the action that was being
performed at the time of the error.
a. If left blank, the default error message, "An error occurred while performing [Insert Action]. If the problem persists, please contact the site administrator", will display. [Insert Action] will be substituted with the action the control was performing at the time of the error.
b. If you wish to change the default error message, customize it with a PWF parameter. See Setting up PWF Parameters for more information.
7. In the Search Button Text text field, enter the text you want to display in the search button.
8. From the Search Redirect URL line, click edit.
The Select/Edit Personify Web Parameters
screen displays.
a. Click the select
link next to the appropriate
PWF parameter.
You should set the PWF parameter
to a value that will take the user to the URL in DNN where he/she view
his/her search results.
If this PWF parameter does not exist or you would like to create a new
one, see Setting
up PWF Parameters for more information.
9. In the Search Text Width text
field, enter the desired width of the control.
If left blank, it will default to the recommended 700 for horizontal and
200 for vertical.
10. In the Search Title text field, enter the title that will show up on the control.
11. Click Save.