The Select A Web Control window displays.
Many of the system types and codes are used in both the Enterprise (back office) and in the e-Business website. It is important to make sure to web enable in the back office the system types and codes that you want to display on the Renew Membership control or they will NOT display. See Configuring the Back-office Settings for the Membership Renewal Control for more information.
To configure the Membership Renew control:
1. Log into your e-Business site as host.
2. Create
a new page on your site to add the control.
See Adding and Managing Pages for
information on how to add a page to your website.
3. Add
the Personify- DNN Web Control Container
module to the page.
See Installing .NET Controls
for more information.
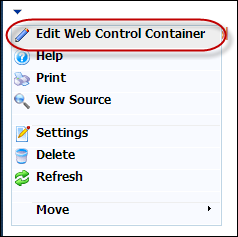
4. Select
the Edit Web Control Container option from the downward arrow icon,
as highlighted below.
The Select A Web Control window displays.
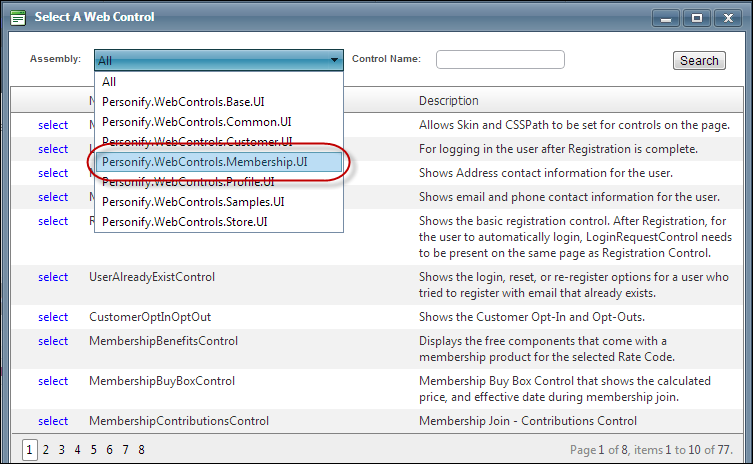
5. From
the Assembly drop-down, select
"Personify.WebControls.Membership.UI",
as highlighted below.
6. In the Control Name field, enter "MembershipRenewalControl" and click Search.
7. Click
Select next to the "MembershipRenewalControl", as highlighted
below.
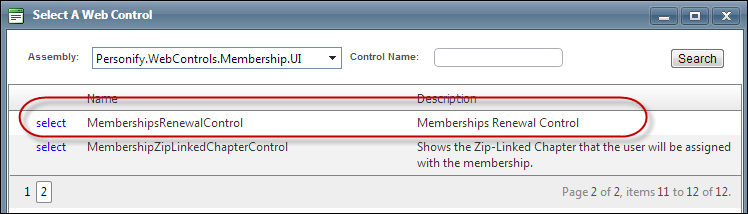
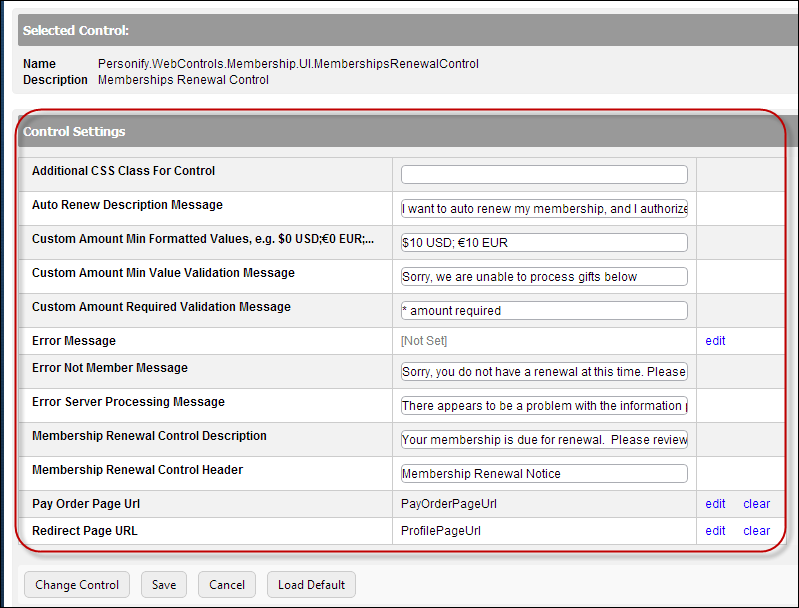
The Control Settings for this control display, as highlighted below.
 You
can only enter 250 characters in the text fields.
You
can only enter 250 characters in the text fields.
8. In the
Additional CSS Class for Control
field, enter the CSS class, if necessary.
This option allows you to add additional layout to the skin by developing
a new DOTNETNUKE style, which requires an advanced understanding of HTML
and CSS. See Using Skins for more information.
9. In
the Auto Renew Description Message textbox, enter a validation
message, if necessary.
For example, "I want to automatically renew my membership, and I authorize
that my credit card be charged prior to the start of the membership term
each year".
10. In
the Custom Amount Min Formatted Values textbox, enter a number
that is greater or equal to 0, if necessary.
This is the minimum value for a custom-entered amount for gifts (donations).
If the constituent enters an amount that is less than this value, the
system will not allow the constituent to proceed. The maximum value that
can be entered is 2,147,483,647.
As a best practice, TMA Resources recommends that you set the minimum value
to be slightly greater than the amount it will cost your organization
to process this transaction so that you do not lose money in the process.
11. In
the Custom Amount Min Value Validation Message textbox, enter a
validation message, if necessary.
For example, "Sorry, we are unable to process gifts below $10."
12. In
the Custom Amount Required Validation Message textbox, enter a
validation message, if necessary.
For example, "*Amount value required".
13. If necessary, select or create a new Error Message.
a. If left blank and the "PersonifyErrorMessage" do not return a result, the default error message, "An error occurred while performing [Insert Action]. If the problem persists, please contact the site administrator," will display.
b. If
you wish to change the default error message, customize it with a PWF
Parameter.
See Setting up PWF Parameters
for more information.
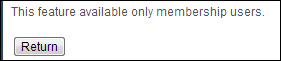
14. In
the Error Not Member Message textbox, enter an error message, if
necessary.
For example, "This feature is only available for membership users,"
as shown below.
15. In
the Error Server Processing Message
textbox, enter an error message, if necessary.
For example, "There appears to be a problem with the information provided.
Please review and update as appropriate.
16. In
the Membership Renewal Control Description textbox, enter a message.
This option is designed to inform your constituent that his/her membership
is about to expire and needs to be renewed. The information in this textbox
should prompt your constituent to begin the membership renew process.
For example, "Your membership is due for renewal. Please review the
renewal notice below, and click the edit link to make any changes to your
membership. If no changes are necessary, please click the Pay Now button
at the bottom of the page."
17. In
the Membership Renewal Control Header textbox, enter the title
name for your control, if necessary.
For example, "Membership Renewal Notice."
18. From
the Pay Order Page URL line, click
Edit.
The Select/Edit Personify Web Parameter screen displays, as shown below.
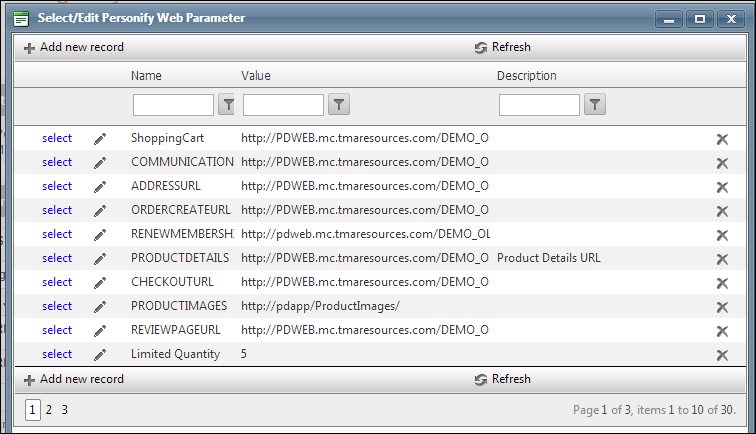
a. Click
the select link next to the appropriate
PWF parameter.
You should set the PWF parameter to a value (e.g., PayOrderPageURL) that
will take the constituent to that URL in DNN when he/she selects "Pay
Now".If this PWF parameter does not exist or you would like to create
a new one, see Setting up
PWF Parameters for more
information.
19. From
the Redirect Page URL line, click
Edit.
The Select/Edit Personify Web Parameter screen displays.
a. Click
the select link next to the appropriate
PWF parameter.
You should set the PWF parameter to a value (e.g., ProfilePageUrl) that
will take the constituent to that URL in DNN when he/she selects "Return."
If this PWF parameter does not exist or you would like to create a new
one, see Setting up PWF Parameters for more information.
20. Click Save.