As
of 7.4.1, this web module is .NET
control.
As
of 7.4.1, this web module is .NET
control.
The Customer Opt-In Choices web module is used in concurrence with the Marketing subsystem and allows your customers to choose which type of communications they would like to receive from your organization. The customer can edit their Opt-In selections at any time via the web or the selections can be edited in the back office via the Opt-In/Opt-Out Selections screen in CRM360™.
As
of 7.4.1, this web module is .NET
control.
To configure the Customer Opt-In Choices Control:
1. Log into your site as Host.
2. Navigate to the appropriate page on your site where you want to add the Customer Opt-In Choices web module.
3. From the Host toolbar, select the “Personify-Customer Opt-In Choices” option from the Module drop-down.
4. Click Add Module To Page.
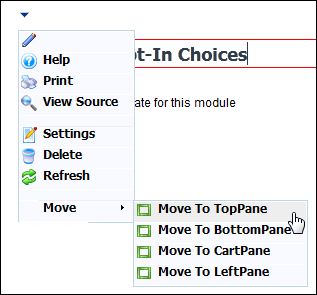
5. Move
the web module to the appropriate place on the page, as shown below.
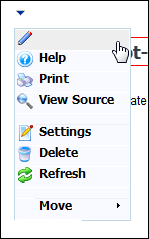
6. From
the web module menu, click the edit icon.
7. The
following page displays:
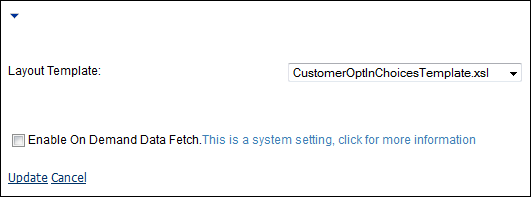
8. Configure the appropriate module settings as described below:
· Layout Template - Drop-down. This setting allows you to determine which default or customized template to apply when using the Customer Opt-In web module.
9. Click Update.
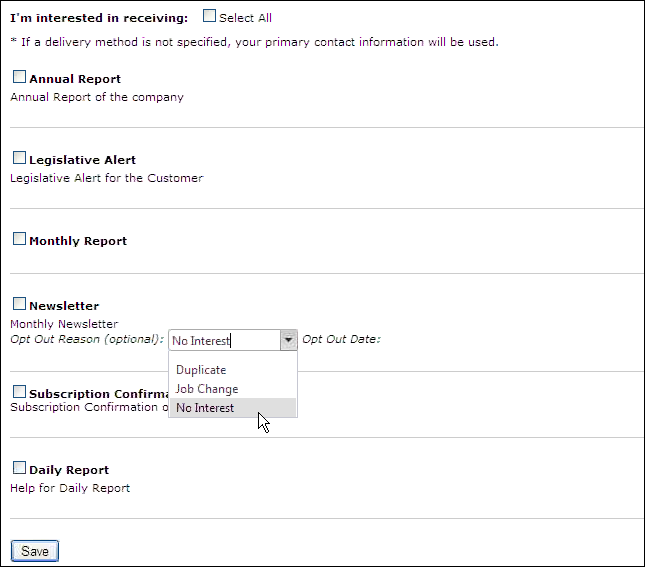
After setting up the Customer Opt-In Choices Module, it will display to your customers like this:
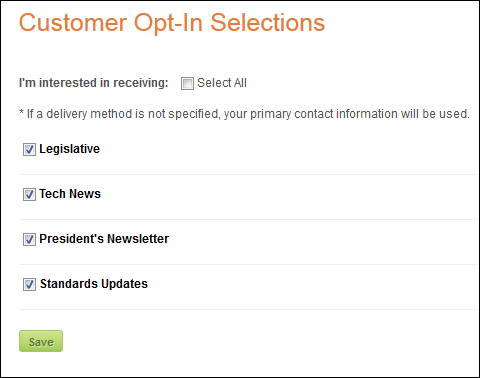
The
options available are populated based on the non-fixed CUS “OPT_IN_INTEREST_AREA”
system type in the Personify back office. For more information, please
see Customer System
Types and Codes.
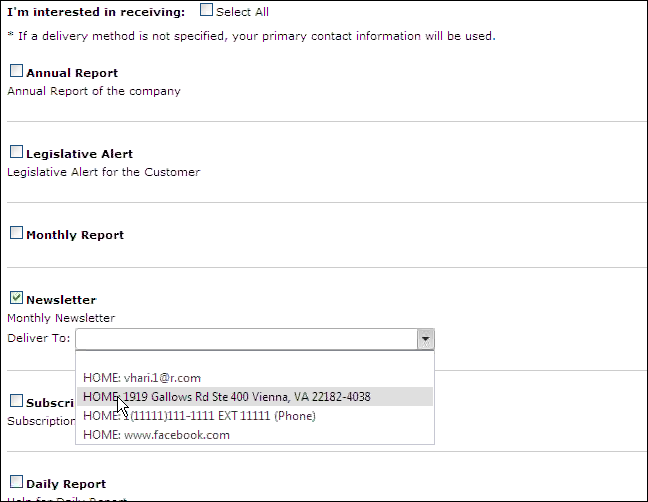
Your customer can check the interest(s) they want to receive information for and select the Deliver To method, as shown below. Options in the Deliver To drop-down are populated based on the communication methods defined in the back office for the customer.
The option selected will also display in the back office on the Opt-In/Opt-Out Selections screen in CRM360, as shown below.
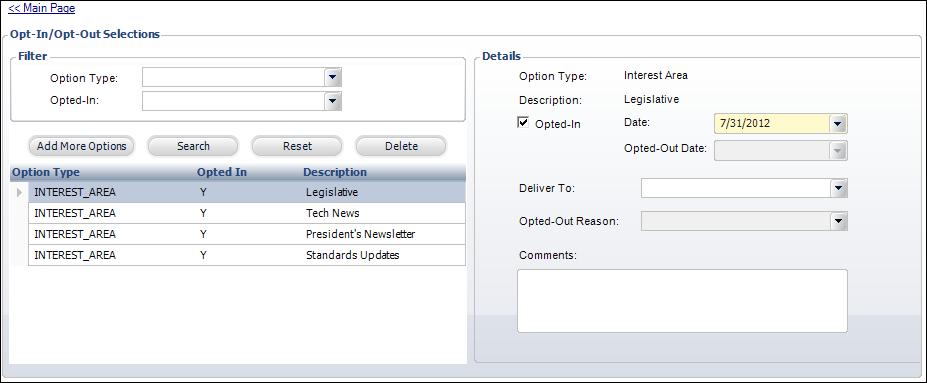
To opt-out of a selection, the customer must simply uncheck the appropriate checkbox. The Opt Out Date automatically populates with the date and the customer can select the Opt-Out Reason. Values are populated based on the non-fixed CUS "OPT_OUT_REASON" system type.