 For
more information on best practices, please see Batch
Creation Best Practices.
For
more information on best practices, please see Batch
Creation Best Practices.
A batch records the number of payments and payment amounts processed through Personify while the batch is open for editing.
For
more information on best practices, please see Batch
Creation Best Practices.
To create a new batch:
1. From the Accounting
Central screen, click Create
a Batch.
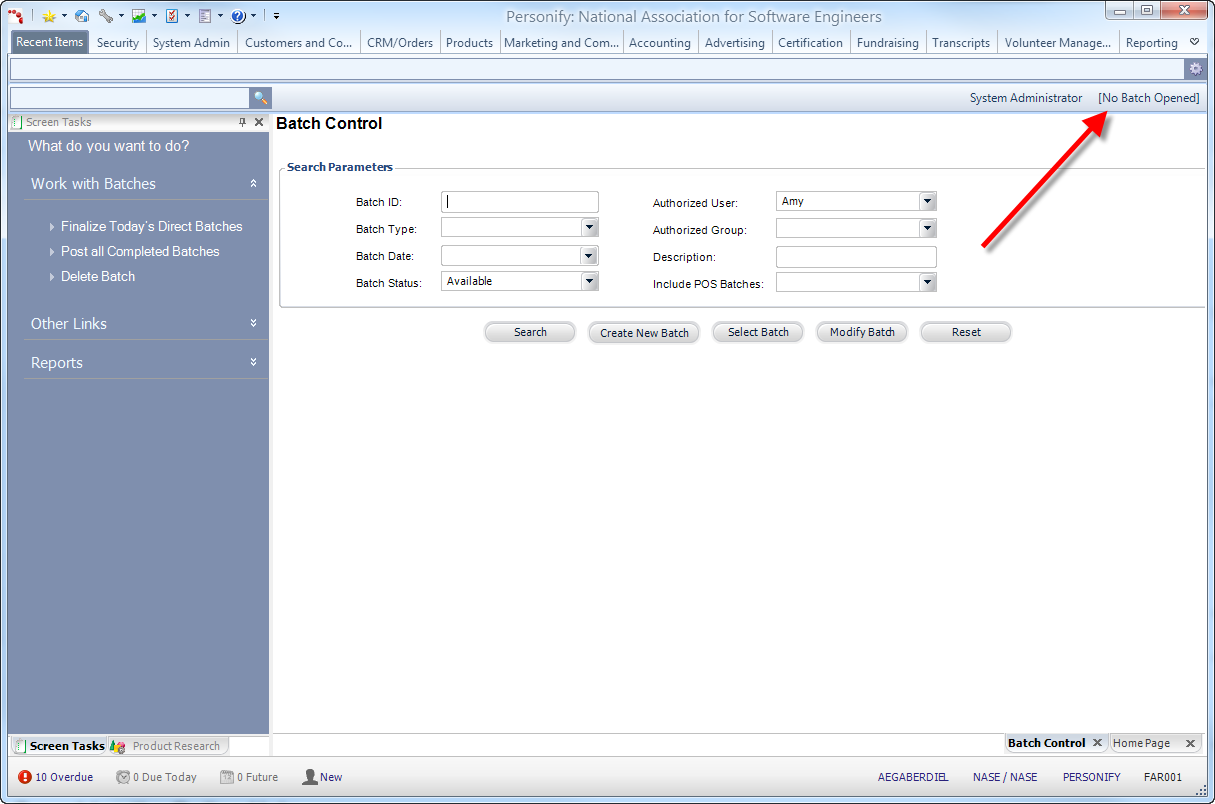
Alternatively, from the Personify main toolbar, select Accounting > Batch Control. Additionally, if a batch
is not already open, click the [No
Batch Opened]
button next to your persona, as shown below.
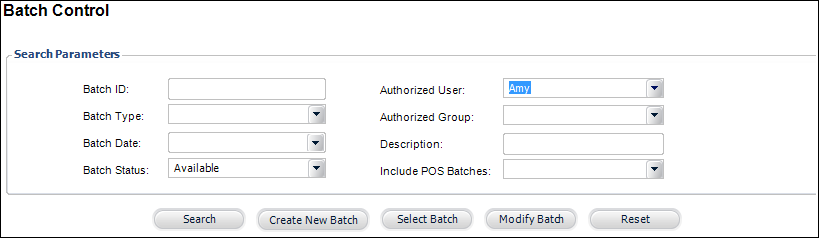
The Batch Control search screen displays, as shown below. By default, the
logged in user displays in the Authorized User drop-down. Only active
users belonging to the organization unit of the logged in user are available
in this drop-down.
If a batch
is already open, the Batch Control screen displays detailed information
about the batch. Only one user can access a batch at a time. If you try
to open a batch already opened for “Editing” by another user, you will
receive an error stating, “The batch you are trying to access is already
opened by someone else. You cannot access this batch until it is closed
by the other user.” To close a batch, click Close
Batch from the Work with this Batch task menu.
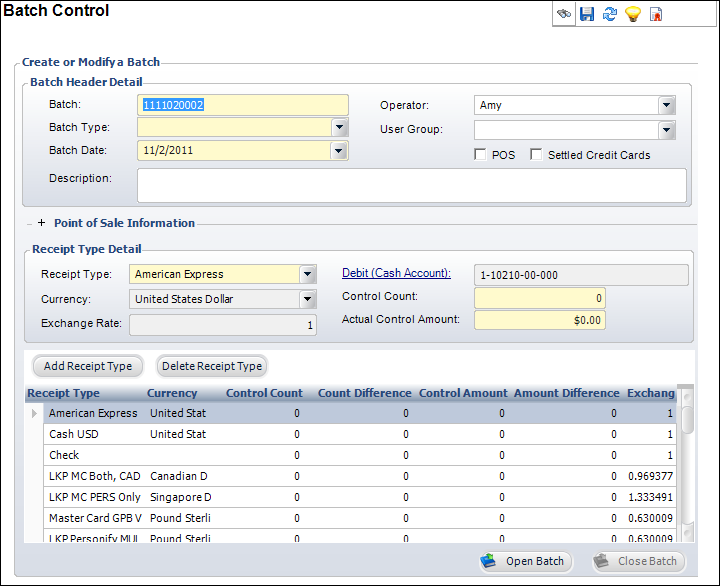
2. Click Create
New Batch.
The Batch Control screen displays, as shown below. The Batch ID is automatically
generated and Batch Date is set to today's date.
3. Change the Batch
number, if necessary.
Your organization should have documented policies and procedures regarding
Batch IDs.
4. Select the Batch Type.
See Batch
Types for more information on which batch type to choose.
5. If necessary,
change the Batch Date.
This should match the deposit date for payments.
6. Select the Operator
and/or User Group that can process the batch.
Be aware that only one person in a user group can access the batch at one
time.
7. Enter a Description of the batch.
8. Select the appropriate checkboxes:
· POS – When checked, add the Point of Sale Information, as described in the next step. For more information, please see Point of Sale (POS) Batches.
· Settled Credit Cards – If your association uses a lockbox or other outside services to process your credit card receipts, you still need to enter the orders into Personify for accounting purposes. Check if you are creating a batch for pre-settled credit card receipts already processed outside of Personify. When you finish creating the receipts and close the batch, Personify records the transactions for the credit card receipts, but does not create any deferred receipts for the transactions, nor does it send any information to a payment gateway or attempt to capture the receipts through CCP610 since a lockbox or outside service already settled them. It only records the transactions in the Personify database.
As of 7.4.0SP1,
the system will follow specific rules to validate credit cards using a
pre-settled batch. If user enters full numbers (all numerals and length
equal to length of the credit card from receipt type definition (like
4111111111111111), the system will validate the credit card. If the user
enters non numeric data (like 4111*1111, then the system will insert more
asterisks to make it full length (like 4111********1111) and will not
validate the credit card. If the user enters numeric data less than the
required length (like 1111), then the system will prefix asterisks to
make it full length (like ************1111) and will not validate the
credit card. If the user enters less than 4 numeric digits or a length
that is more than what is defined in APP003, then the system will display
a validation message. The system will accept alphanumeric characters.
9. If there is sales tax for the jurisdiction in which the sales are being made and you selected the POS checkbox, perform the following:
a. Click the + next to Point of Sale Information.
b. Select the POS Country from the drop-down.
c. Click the POS State link and select the appropriate state from the chooser.
d. Enter the POS County. POS Country and POS State must be selected before you can choose the POS County.
e. Enter the POS City. POS Country and POS State must be selected before you can choose the POS County.
f. Enter the POS Postal code.
g. Select the POS Warehouse from the drop-down.
For more
information, see the Point of
Sale (POS) Batches section.
10. The Receipt Type grid populates with the receipt types marked as "Default for New Batch", as defined on the Organizational Unit Maintenance > Receipt Types and Cash Accounts screen for the org/org unit of the logged in user. To add additional receipt types, perform the following:
a. Click Add Receipt Type.
b. From
the Receipt Type Detail section, select the Receipt
Type from the drop-down.
For instructions on creating your user-defined Receipt Types, please refer
to Adding
Receipt Types to Personify. The rest of the information in the Receipt
Type Detail section automatically populates based
on the values entered on the Organizational
Unit Maintenance > Receipt
Types and Cash Accounts screen.
c. The Currency automatically populates and is read-only.
d. If
necessary, change the Exchange Rate.
This is the percentage difference between the foreign currency and the
base currency. This field automatically populates and, if the selected
Receipt Type uses the base currency, this field is read-only.
e. If necessary, click the Debit (Cash Account) link to select a different account.
f. If necessary, change the Control Count.
g. If necessary, change the Actual Control Amount.
11. Click Open Batch.
At the end of the
day, make sure to close the batch for editing by opening the batch from
the Batch Control screen and clicking Close Batch from the Work with this
Batch task menu.