 The
Process object has no function. It serves as a default to produce the
full-size workflow icons on your canvas. Any rule added to a process object
in your workflow will not execute.
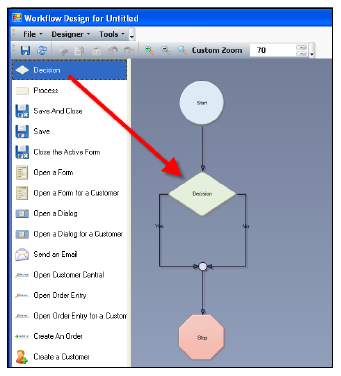
You create a workflow by dragging Decision Objects and Action Objects from the ToolBox onto your workflow to create a sequence of cause-and-effect events illustrated by the object icons. Each workflow object’s functionality is defined by the business logic you write for them using every day English language along with fields and control names. The business logic you write for them is called the object’s “rule.” The combination of your workflow object sequence along with each object’s logic determines what occurs when your workflow executes and why.
Although you use the same set of Action Objects to create each workflow, the workflow you make will be specific to the form you associate it with and saved as part of that form.
 The
Process object has no function. It serves as a default to produce the
full-size workflow icons on your canvas. Any rule added to a process object
in your workflow will not execute.
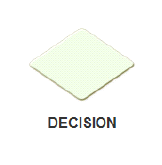
The Decision Object has a unique function compared to the other objects. When you add a Decision object to your workflow, it divides the line into “Yes” and “No” lines.


You can then edit the Decision Object’s rule to create an IF/THEN statement with separate outcomes. For example, if you want a specific form to open when a user clicks a button ONLY when that user is under the Meeting Manager persona, they you would edit the decision rule to say “Has a Persona of Meeting Manager.” After doing so, you add the Open Form action object to the “Yes” line. This way, when the workflow executes and the statement “Has a Persona of Meeting Manager” equals “Yes” for the logged-in user, the form specified in the Open Form action object’s will open.
For a more detailed example of the Decision Object in use, refer to Sample Workflow Setup 2.
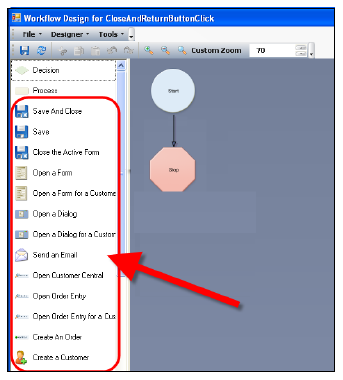
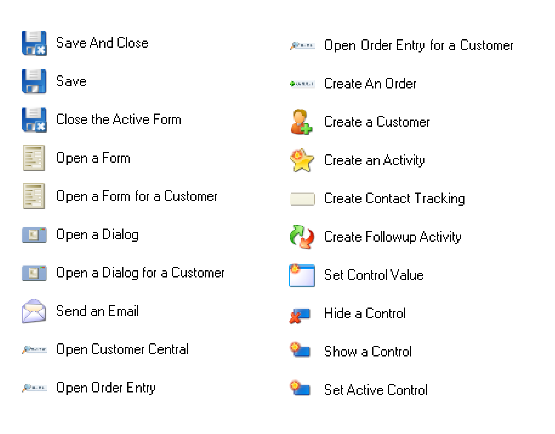
The Action Objects make up the rest of the icons in the Toolbox. Each Action Object represents a different Personify command that you can have execute as part of your workflow.

The Action Objects available in your Toolbox depend on whether you are creating a workflow for an application form or a web form. A list of the available Action Objects (Personify Workflow Commands) for both Personify Enterprise and Personify e-Business is available in Workflow Commands. For example, here is a list of Action Objects for a workflow created for an application form.

After you add an Action Object, you need to review the object’s rule and include specific information where necessary, such as the specific form name you want to open for the Open Form action object or the tab you want to activate for the Set Active Control action object.
For more information on working with Action Objects, refer to Editing Object Rules.