This section explains how to set up a workflow that sets a different control as Active based on a database field value of a searched-for customer when the user clicks a specific button.
For this example, when the user clicks the Update button, the Individual Update page must display when the customer’s Record Type is “I” (individual) and the Company update page must display when the customer’s Record Type is not “I.”
To create Sample Setup 2:
1. On
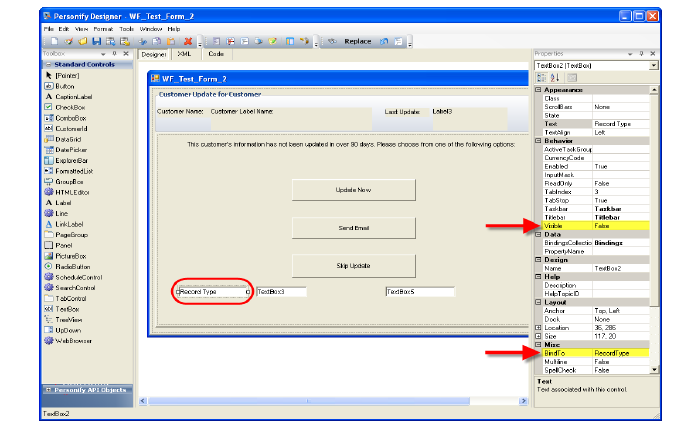
the Customer Update form, within the Detail
Page > Start page, place a text box binded to RecordType with
the Visible property set to “False.”
2. Set
the RecordType’s ValueWorkflowEnable
property to “True.”
This ensures you can create the Decision Rule based on this control’s value.
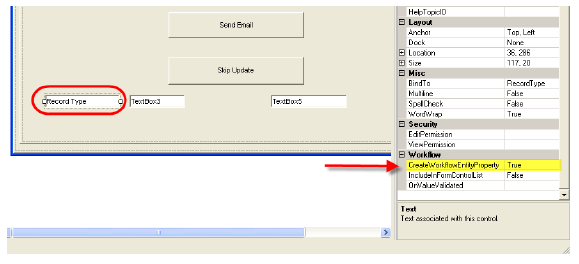
3. Set
the ControlWorkflowEnable property
for the following pages to “True.”
This ensures both pages appear as options to set the controls to Active.
a. Individ Update
b. Company Update
4. Click the Update Now button.
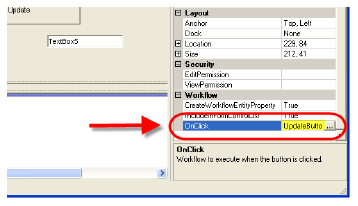
5. Click
the (...) button next to the OnClick
property.
The Available Workflows window displays.
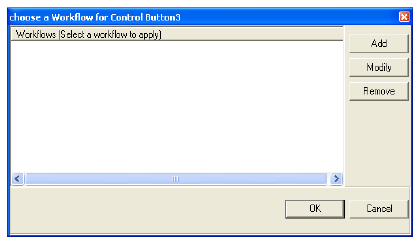
6. Click
Add.
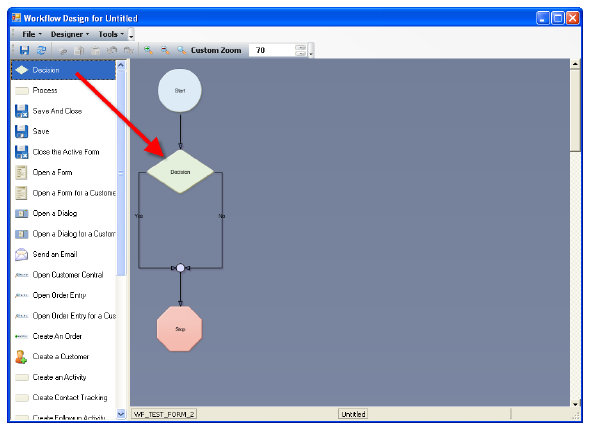
The Workflow Designer opens with a new workflow file.
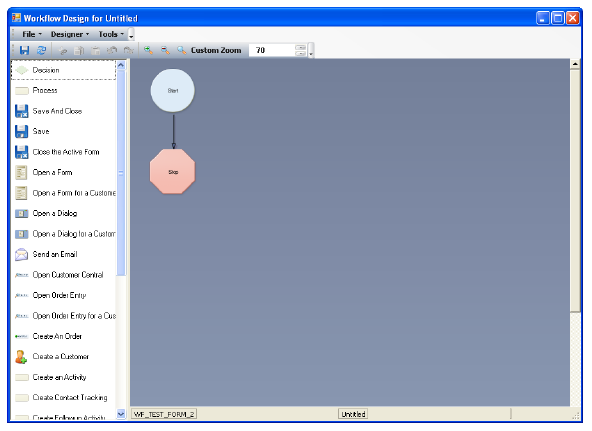
7. Drag
the Decision icon onto the workflow.
8. Right-click
the Decision icon and select Edit Workflow.
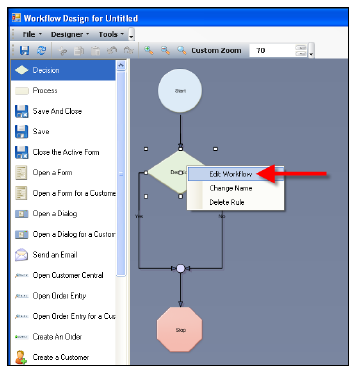
The Edit Rule window displays.
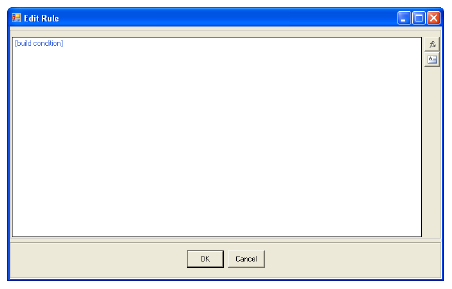
9. Click
the [build condition] link.
A drop-down of options appear including those you set ValueWorkflowEnable
as “True.”
10. Select
Record Type.

“Record Type” appears in the rule sentence.
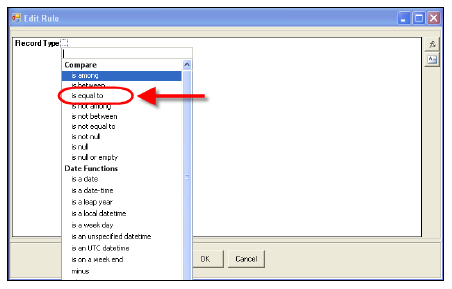
11. Click the (...) link.
12. Under
the Compare section of the drop-down values, select “is equal to.”
13. Click the [value] link.
14. Type
“I” and click Enter.
The final rule sentence should appear as below.

15. Click
OK.
The Edit Rule window closes.
16. Drag
the Set Active Control onto
the YES line of the workflow beneath the Decision icon.
![]()
17. Right-click
the Set Active Control icon
and select Edit Workflow.
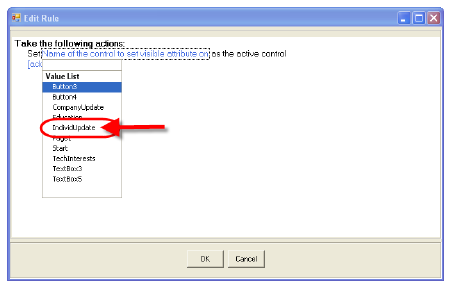
The Edit Rule window displays with a sentence already started.
18. Click
“Name of the control to set visible attribute on.”
The controls you set the ControlWorkflowEnable property to “True” appear
in the list.
19. Select
IndividUpdate.
20. Click
OK.
This ensures that when the user clicks the Update button and the customer’s
Record Type is “I,” the IndividUpdate Page displays.
21. Drag
another Set Active Control icon
onto the NO side of the Decision icon’s workflow.
![]()
22. Right-click this icon and select Edit Workflow.
23. This time, for the “Name of the control to set visible attribute on,” select CompanyUpdate.
24. Click
OK to save the rule.
The Edit Rule window closes and the workflow creation is complete.
25. From
the Workflow Designer menu bar, select the Save
icon.
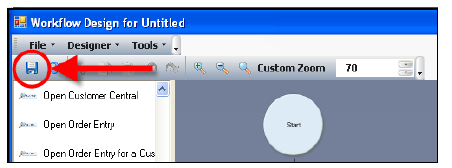
The Workflow Name window appears.
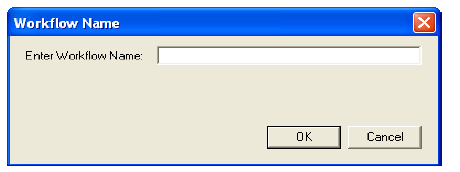
26. Enter
a name for your workflow.
For example, UpdateButton.
 You
can not include spaces in your Workflow Name.
You
can not include spaces in your Workflow Name.
27. Click OK.
28. Close
the Workflow Designer.
The new workflow displays in the Available Workflows window.
29. Select
your new workflow (e.g., UpdateButton) and click OK.
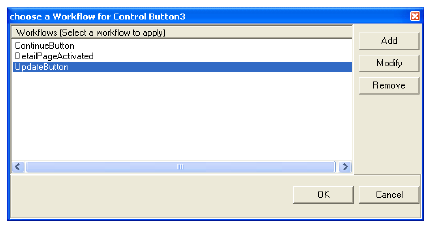
The Workflow Name appears in the OnClick property of the Update Now button.
30. Save the form.
31. You can now test your workflow by returning to your application, opening the form and searching for either an Individual or a Company and clicking Update Now to ensure the correct page displays based on the customer’s Record Type.