The Organization Unit Maintenance search screen displays, as shown below.

To define inventory shipping parameters for your organization unit:
1. Using
the System Administrator persona,
from the Personify main toolbar, select System
Admin > Organization Structure > Organization Unit Definition.
The Organization Unit Maintenance search screen displays, as shown below.
2. Click Search.
3. Select your organization/organization unit.
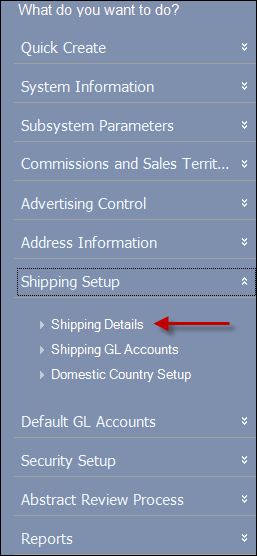
4. From
the Shipping Setup task category,
click Shipping Details, as highlighted
below.
The Organizational Unit Maintenance Shipping Controls screen displays,
as shown below.

5. From the Shipping Calculation drop-down, select one of the following:
· By Price (See Defining Shipping Charges by Price for more information)
· By Schedule (See Defining Shipping Charges by Schedule by Price or Defining Shipping Charges by Schedule by Weight for more information)
· By Weight (See Defining Shipping Charges by Weight for more information)
· Flat Rate (See Defining Shipping Charges by Flat Rate for more information)
· Override Shipping (See Defining Inventoried Product Shipping Charges for more information)
· Special Ship Charge (See Defining Inventoried Product Shipping Charges for more information)
6. From the Domestic Ship-Via Default drop-downs, select a default shipping company for orders Ordered through Personify and orders Ordered through the Web.
7. From the Foreign Ship-Via Default drop-downs, select a default shipping company for orders Ordered through Personify and orders Ordered through the Web.
8. Click Save.
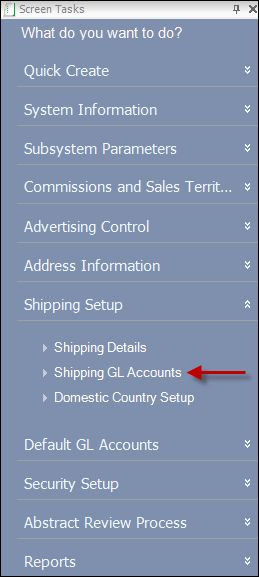
9. From
the Shipping Setup task category, click Shipping
GL Accounts, as highlighted below.
The Organizational Unit Maintenance GL Accounts Used in Shipping screen
displays, as shown below.

10. Click Add.
11. Select the Company from the drop-down.
12. Select the Inventoried Product's Subsystem from Subsystem drop-down.
13. Select the Ship-Via from the drop-down.
14. Select the Packing Slip Group By from the drop-down.
15. Click the Shipping Revenue link to search for and add a revenue account.
16. Click the Deferred Shipping link to search for and add a deferred revenue account.
17. Select the Begin Date from the drop-down.
18. Select the End Date from the drop-down.
19. Click Save.
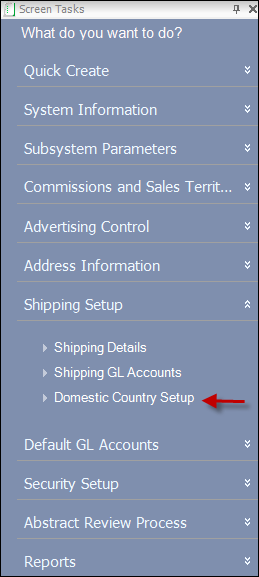
20. From
the Shipping Setup task category,
click Domestic Country Setup,
as highlighted below.
The Organizational Unit Maintenance Countries Considered “Domestic” for
Shipping screen displays, as shown below.
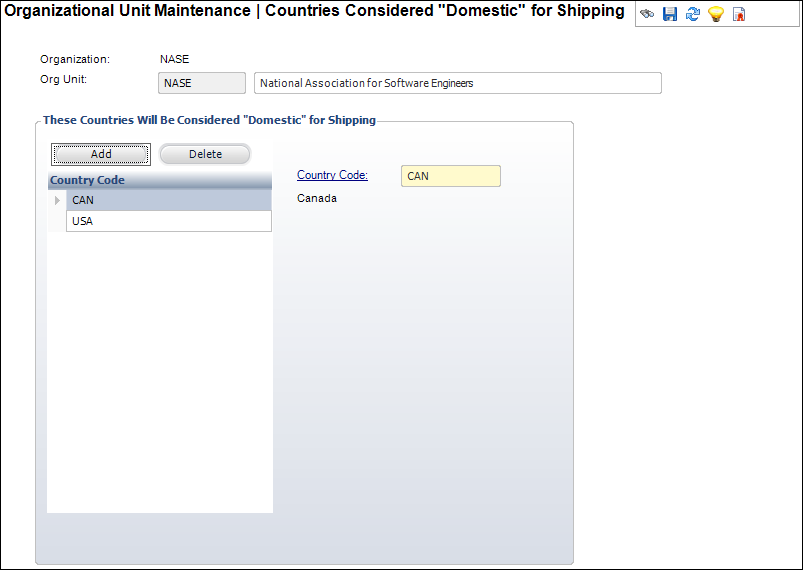
21. Click
Add.
The Country Chooser screen displays, as shown below.
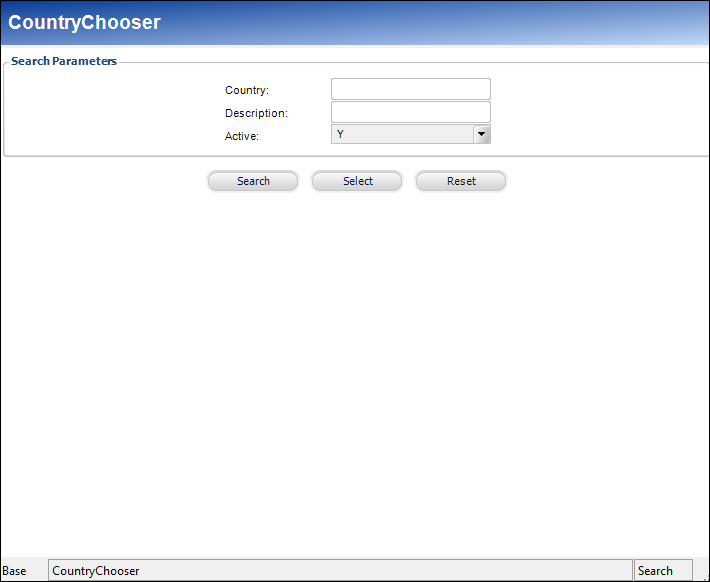
22. Click Search.
23. Select the country you want to
be considered domestic for shipping.
Repeat steps 21 and 22 to add additional countries.
24. Click Save.