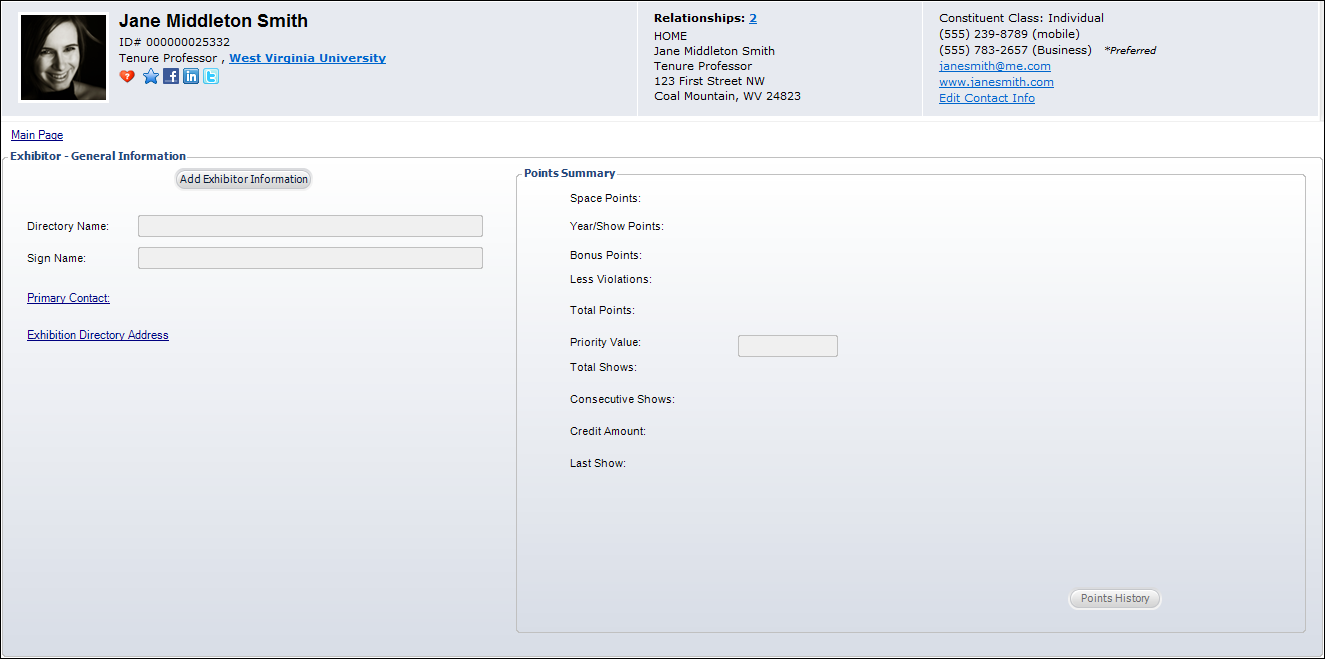
From the Involvement History task category in CRM360®, click Exhibitor
Details. The Exhibitor Details screen, which opens in a new tab,
allows you to define exhibitor information, products and services, and
the directory description. From this screen, you can edit the primary
contact for the exhibitor and the address that displays in the directory.
The exhibitor history displays in the right-hand pane, including points
awarded, amount of shows attended, and credit amount.
To add exhibitor information:
1. From the Involvement History task category in CRM360, click Exhibitor Details.
2. From
the Exhibitor - General Information section, click Add
Exhibitor Information.
The fields below enable, as shown below.
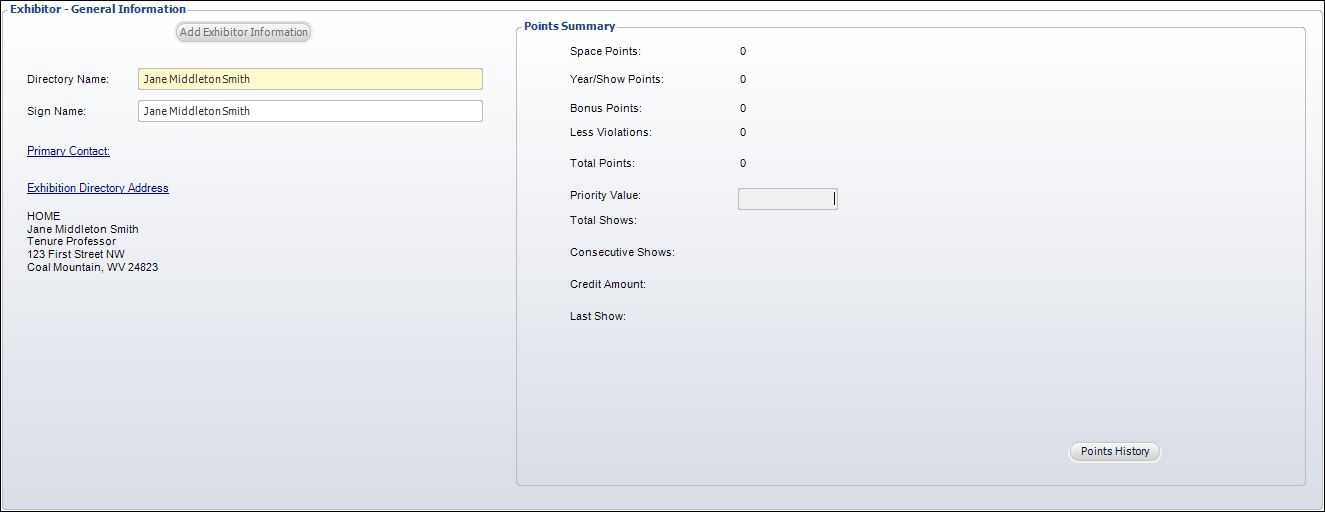
3. By default, the Directory Name populates with the constituent's label name. Change this if necessary.
4. By default, the Sign Name populates with the constituent's label name. Change this if necessary.
5. If necessary, click the Primary Contact link to search for and select a primary contact for exhibits.
6. By default, the Exhibition Directory Address populates with the constituent's primary address. If necessary, click the Exhibition Directory Address to choose a different address.
7. Click Save.
On the Points History screen, you can define a new priority value, define consecutive shows, and add points for an exhibitor based on a specific show. Points systems are used by organizations to try to prioritize exhibitors for their choice of booth space in a show.
![]() The
XBT600 report will create points history records based on offers valid
at the time of its running.
The
XBT600 report will create points history records based on offers valid
at the time of its running.
Points are granted for participation in exhibitions. They can be generated through the standard batch process, through customized processes, or manually. This screen allows manual manipulation of the points, particularly the assessment of violation points.
To add points history:
1. From the Involvement History task category in CRM360, click Exhibitor Details.
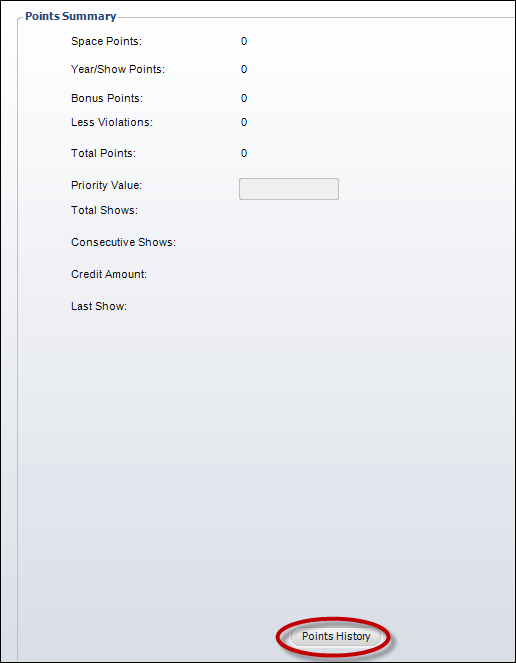
2. From
the Points Summary section, click Points History,
as shown below.
The Exhibition Points History screen displays, as shown below.
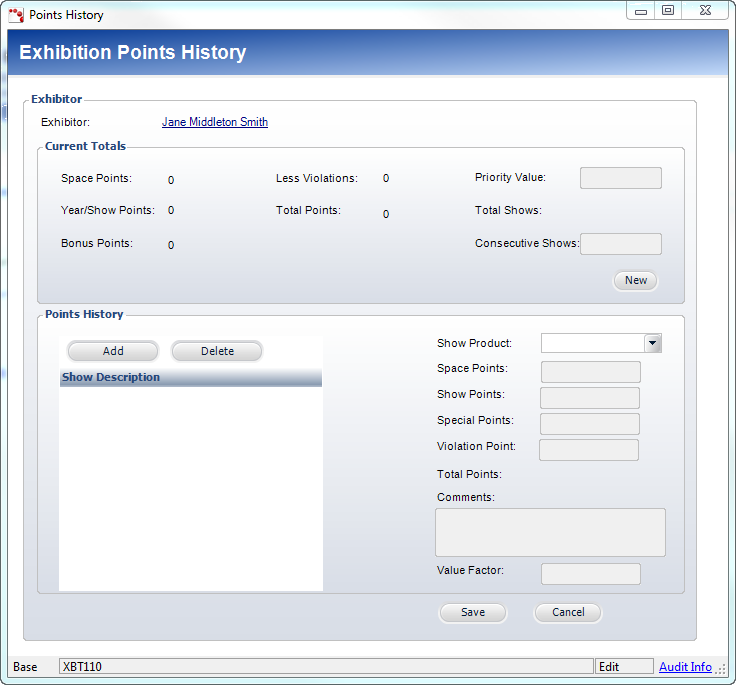
3. From the Current Totals section, click New and add a new Priority Value or the number of Consecutive Shows, if necessary.
4. From the Points History section, click Add.
5. Select
the Show Product from the drop-down menu.
This is the show that awarded the exhibitor the points.
6. Enter the amount of points awarded:
· Space Points
· Show Points
· Special Points
· Violation Points – Tracked as part of the points history for the exhibitor. These points may be assessed against an exhibitor for bad behavior, such as violating a rule.
7. Enter any Comments, if necessary.
8. Enter the Value Factor.
9. Click Save.
From this screen, you can enter products and services related to the exhibitor. These are products and services that the exhibitor provides.
To add a new product:
1. From the Exhibitor Details task category, click
Products and Services.
The Products and Services screen displays, as shown below.
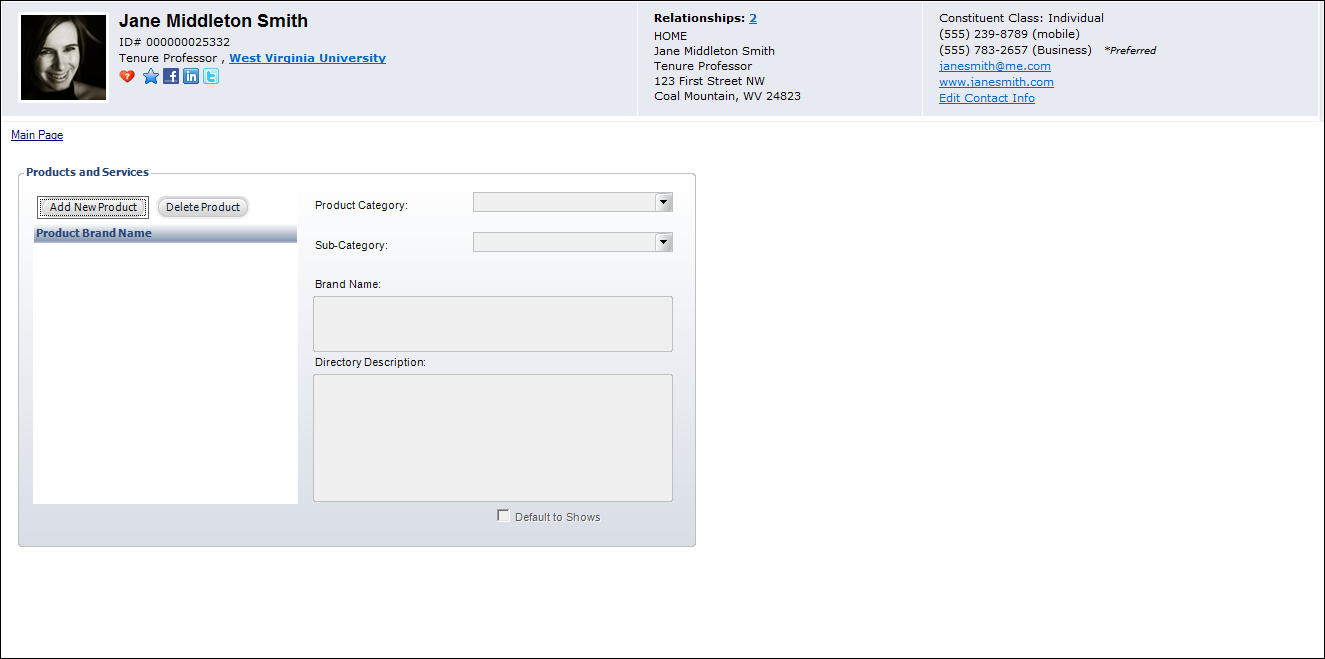
2. Click Add New Product.
3. Select
the Product Category from the drop-down.
Values are populated based on the non-fixed CUS "PRODUCT_CATEGORY"
system type.
4. Select
the Sub-Category from the drop-down, if necessary.
Values are populated based on the subcodes defined for the non-fixed CUS
"PRODUCT_CATEGORY"
system type.
5. Enter the Brand Name.
6. Enter the Directory Description, if necessary.
7. Check Default to Shows, if necessary.
8. Click Save.
From this screen, you can add a description for the exhibitor that will display in the directory.
To add a directory description:
1. From the Exhibitor Details task category, click
Directory Description.
The Directory Description screen displays, as shown below.
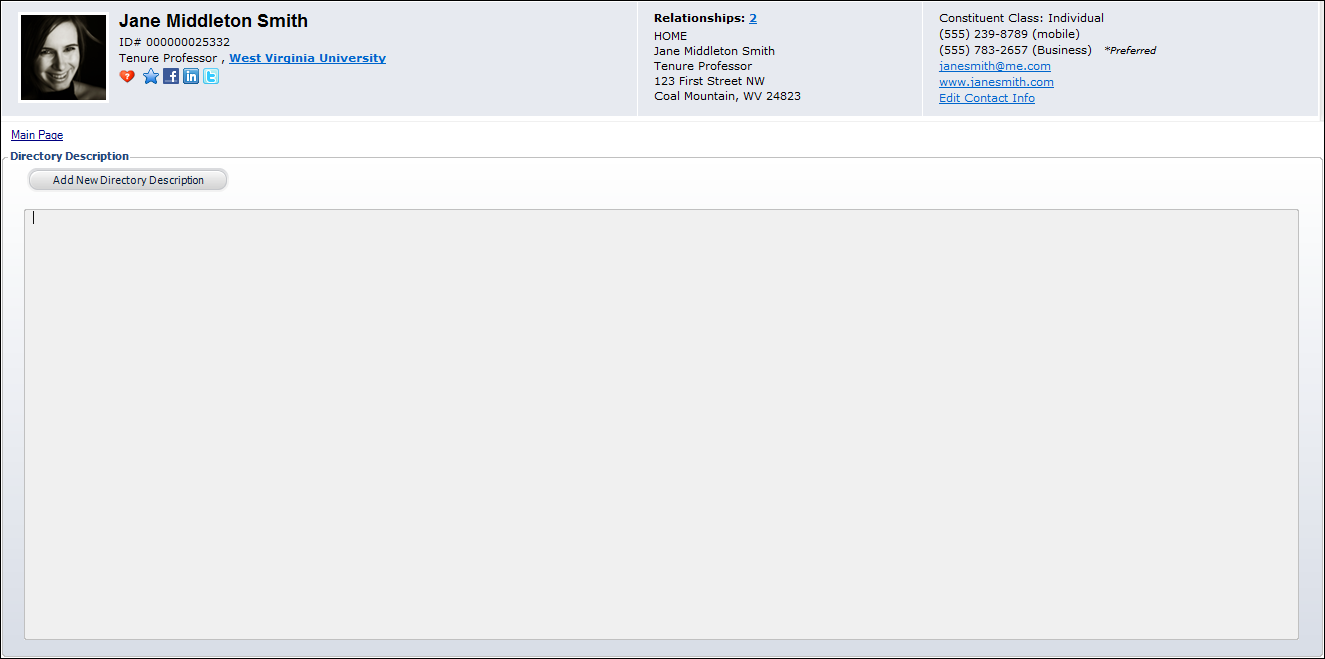
2. Click Add New Directory Description.
3. Enter the description.
4. Click Save.