The Additional Customer Address screen displays as shown below.
To replace an existing address, see .Adding a New Address to a Constituent's Record in CRM360®.
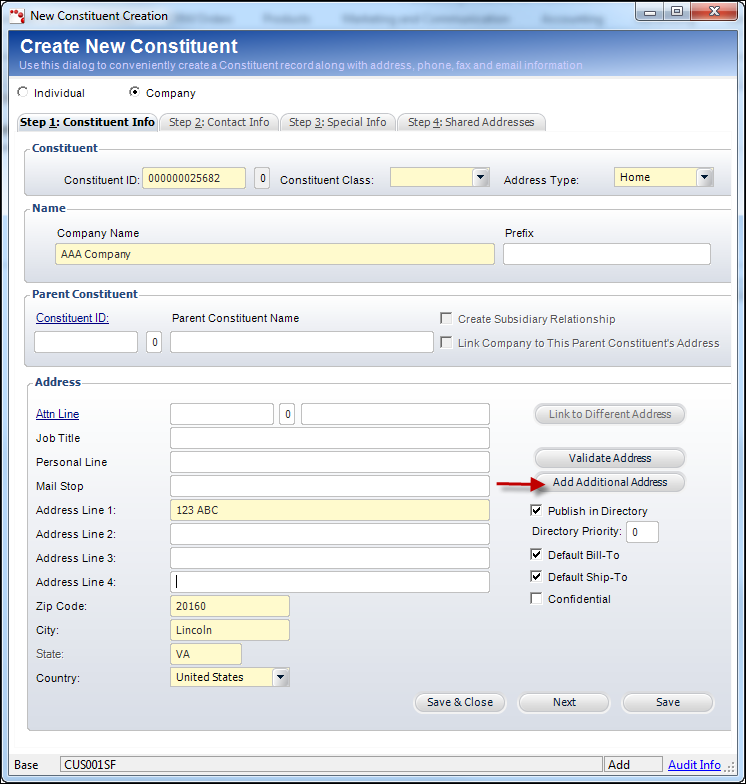
To add an additional company address for a new constituent:
1. On
the Create a New Customer screen, click Add Additional Address
from the Step 1: Customer Info tab.
The Additional Customer Address screen displays as shown below.
2. Change the company Name, Address Status, or Address Type, if necessary.
3. From the Parent Customer section, select the parent customer by clicking the Customer ID link and searching for a parent customer, if necessary.
4. If you selected a parent customer, you can then select to Create Subsidiary Relationship or Link Company to This Parent Customer’s Address.
5. From the Address section, enter the contact information and address.
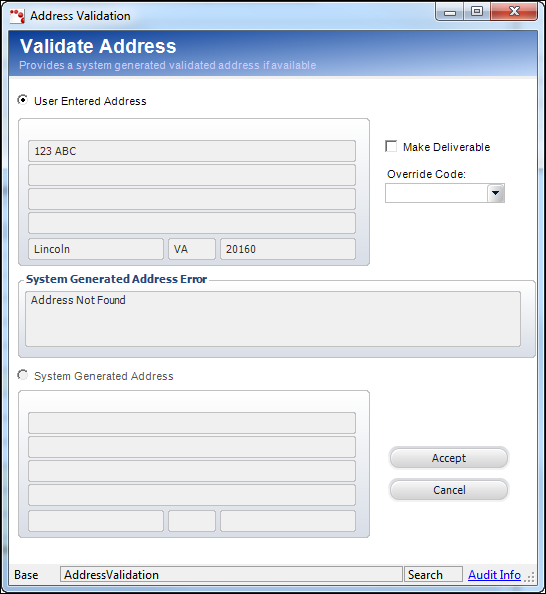
6. Click Voter Information to add voter and additional address information or click Validate Address to validate the additional address, , if necessary..
7. If
the new company's information should be published in any base directory
reports, whether printed or published on the Web (e.g., XBT1202), select
the Publish in Directory checkbox.
When unchecked, the e-Business Member Directory web part excludes this
new company information.
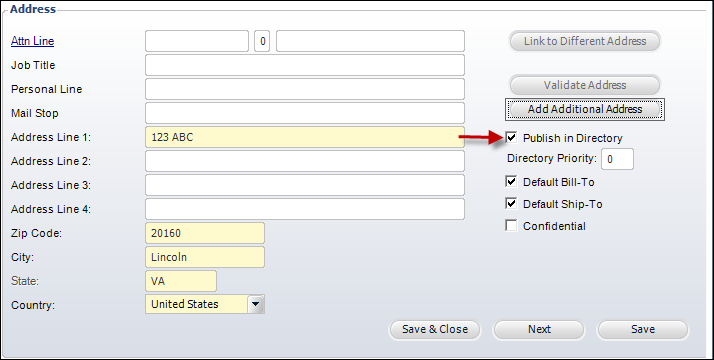
8. Enter the priority in which the address will be listed in the directory in the Directory Priority field.
9. If the new customer is the default bill-to customer for all orders, select the Default Bill-to checkbox.
10. If the new customer is the default ship-to customer for all orders, select the Default Ship-to checkbox.
11. If the new customer does NOT want their address to display on base roster reports (e.g., MBR1212PE), select the Confidential checkbox.
12. If applicable, select the Seasonal Begin and Seasonal End dates. These dates indicate the valid begin and end dates of a seasonal address. Typically, seasonal addresses apply when a customer wants mail sent to a different address for a specific period of time.
13. If
the seasonal date range is recurring, select the Recurring Address
checkbox.
In this case, Personify automatically updates the range by one year after
the address has expired to renew the next season.
14. Click Save & Close.