Personify is a leading-edge Association Management Software (AMS) system with the unique ability to adapt to your organization, helping you to achieve new levels of productivity and member service. Through personas, Personify provides your staff with direct access to the screens and workflows that only they need.
The Personify Help system provides access to documentation on all modules within Personify and any other third party vendors that Personify works with to help your association accomplish your goals and daily business. The documentation includes overview information, business process how-to’s, FAQs, workflow diagrams, a glossary, sample setups, and other important information to consider while implementing Personify to work with your association.
If you're new to Personify, check out the Getting Started with Personify section of the Help for a quick overview of the system.
· New e-Business .NET Web Controls Implemented
o Membership Join .NET Controls
o Membership Renew .NET Controls
· Marketing Module Enhancements
· Ability to Transfer a Deferred Credit Card Receipt
· Support for User-Friendly API Validation Messages
You may have noticed that the Online Help looks a little different! Here are the main improvements we've made:
· Documentation contained in this Online Help is specific to the 7.4.1 release of Personify, but also contains information from all previous releases.
· ALL Personify documentation can now be found in the Online Help, with the exception of the Installation Guide, Release Notes, API Documentation, the Data Model, and the Data Dictionary, which will remain in PDF form for the time being.
· Topics may contain links to other areas in the Online Help. If you're reading a topic and we reference more information in another area, simply click the link. To return to the previous topic, click the Back button in your browser.
· Click the Glossary button in toolbar to access a list of commonly used terms and phrases in Personify. Click the Term and the Definition will display below. Note that clicking through the terms will not change the topic displayed to the right.
· From the Online Help, you can print a specific topic by clicking the Print button in toolbar. Keep in mind that this print function will ONLY print the topic you are currently viewing. If you would like to save a topic as a PDF, click the Print button and select the "Adobe PDF" printer.
Click the Search button in the toolbar to access the search pane. Enter your search criteria and click Go. The topics in which your search criteria was found will display below.
 This
search functionality is a full text search. Therefore, if you'd like to
search for a specific term, enter the search criteria in quotation marks.
For example, if I enter one-click donation in the search field, the search
results will return all topics in which the words one, click, and donation
were found. However, if I enter "one-click donation" in the
search field, only topics containing one-click donation will display.
This
search functionality is a full text search. Therefore, if you'd like to
search for a specific term, enter the search criteria in quotation marks.
For example, if I enter one-click donation in the search field, the search
results will return all topics in which the words one, click, and donation
were found. However, if I enter "one-click donation" in the
search field, only topics containing one-click donation will display.
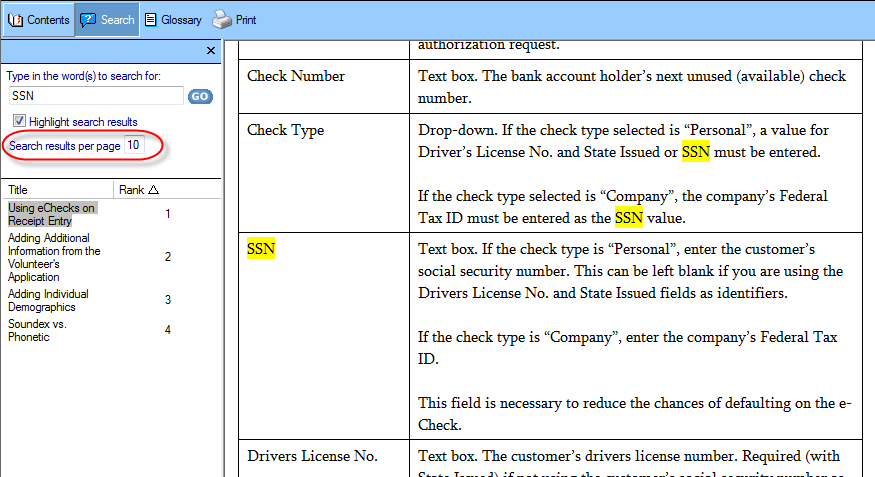
Each search result is given a Rank. This ranking is based on the number of times the search criteria was found in the topic, with the most results given a ranking of 1. By default, when you click a topic in the search results, the topic will display to the right and the search criteria will be highlighted, as shown below. If you do not want the search results to be highlighted, uncheck the Highlight search results checkbox under the search criteria field. Also by default, 10 search results will display per page. You can change this by entering the desired amount in the Search results per page field, as highlighted below.
If you would like to send a link to a specific topic in the Online Help to a colleague or customer, please follow these steps:
1. Open the appropriate topic you want to send.
2. Right-click anywhere
in the topic and select Properties.
The Properties window displays, as shown below.
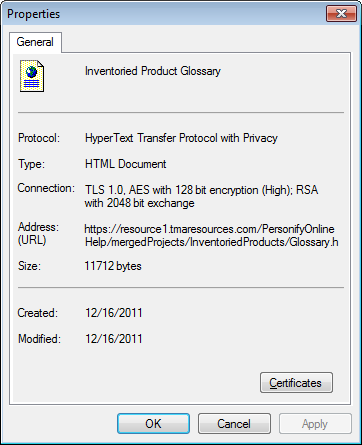
3. From the Address (URL) field, select the entire URL.
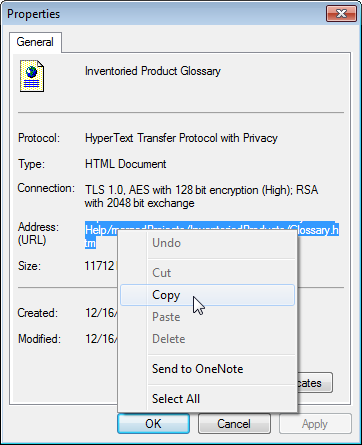
4. Right-click the
highlighted URL and select Copy,
as shown below.
5. Paste the URL
into an email or any other form of communication.
When the recipient receives the URL, they can simply copy and paste the
URL into their browser.
 Links
sent from the Customer Support site will require login authentication
to view.
Links
sent from the Customer Support site will require login authentication
to view.