 This
step only applies if your organization decides to keep the customer images
enabled on the Unified Search ASPX page. Imaging is enabled by default
in the ASPX page.
This
step only applies if your organization decides to keep the customer images
enabled on the Unified Search ASPX page. Imaging is enabled by default
in the ASPX page.
The Windows Imaging Service helps standardize the size of all uploaded customer images ensuring that all profile images that display under the customer name in the Unified Search results page appear in the same size and are the most current customer image entered in the Personify database.
This
step only applies if your organization decides to keep the customer images
enabled on the Unified Search ASPX page. Imaging is enabled by default
in the ASPX page.
The
Personify application uses the same Windows Imaging Service for the Personify
Mobile application. If your organization has already installed the service
for Mobile, you do not need to install it again. Please proceed to Step
5.
To install the Windows Service:
1. Navigate
to the “Mobile\WebService” folder in your release package and double-click
the PersonifyImageServiceSetup to begin the installation.
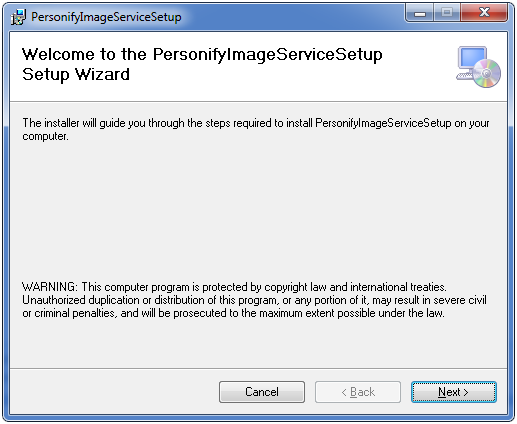
2. Click
Next until you reach the “Select
Installation Folder” screen.
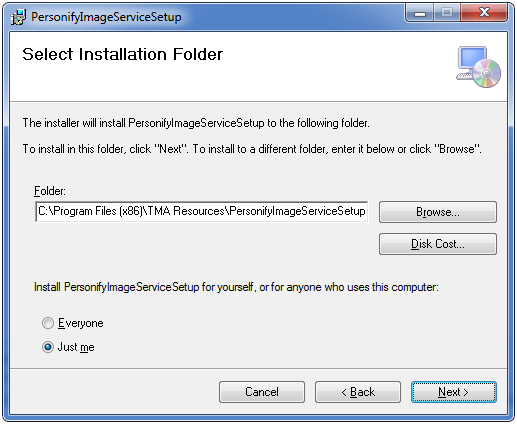
3. Browse and select the file path in which you want to install the Windows Service.
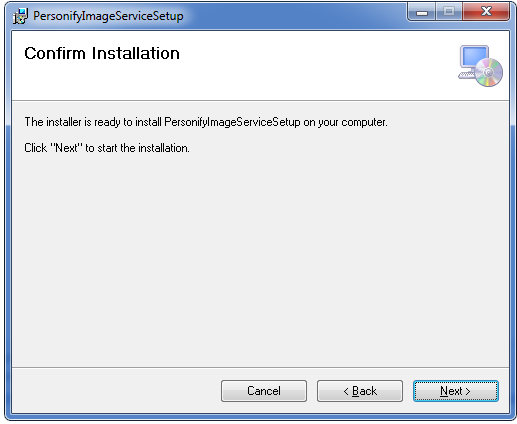
4. Click
Next until you finish the installation.
5. Navigate to your . . . /innetpub/wwwroot/PersonifyUnifiedSearch website folder you created in Applying the Unified Search Page.
6. Create
a new folder for your customer images.
For example, .../innetpub/wwwroot/PersonifyUnifiedSearch/CustomerImages.
7. Open the PersonifyImageService.exe.xml file and update the following:
· Seat Information
· App Service URL
· CustomerImagePath
- enter the path for the folder created in the previous step.
For exampe, .../innetpub/wwwroot/PersonifyUnifiedSearch/CustomerImages.
8. The following values also appear in the PersonifyImageService.exe.xml. You can modify them, as desired:
Key |
Value |
Comments |
|---|---|---|
EnableEventLogs |
False |
For Production. |
ProfilePictureHeight* |
100 |
Customer Image |
ProfilePictureWidth* |
100 |
Customer Image |
RefreshImageInterval |
3600000 |
In milli seconds. Recommended 1- 24 hrs. |
These
are the recommended values for the image sizes. The Profile Height and
width can go to 200 X 200 max. The image size should be < 100
K for the best performance.
9. Save and close the config.xml file.
10. Click
on Start to start the service.
If the service fails to start, check the application event log and/or your
email for an error report.