
To start creating a new form:
1. From the Personify main toolbar, click Tools > Studio Tools > Web Form Designer.
2. Click File > New, or the New icon.
3. The
Web Form Designer allows you to create one of three different types of
forms. Select a New Form type from the New Form window.
· Blank Form – This form type is ideal for designers who are comfortable with creating customized Personify screens for their users. With this form you can create your own HTML page and build a unique workflow.
· Chooser Dialog – You can customize a form designed to perform searches or to lookup an entry. This form template also contains a Search Control. The Chooser Dialog has two columns and allows users to select data. The Chooser Dialog form is used for creating a pop-up chooser, such as the Customer Chooser, Product Chooser, etc.
· Web Form – This is the typical form for the main Personify window. The Web Form option is equivalent to the Standard Form and has a default search screen and detail page. This is the template you are most likely to use, as it contains coding and search control features.
4. Create a name for the form in the Name text box of the New Form window.
5. Click OK.
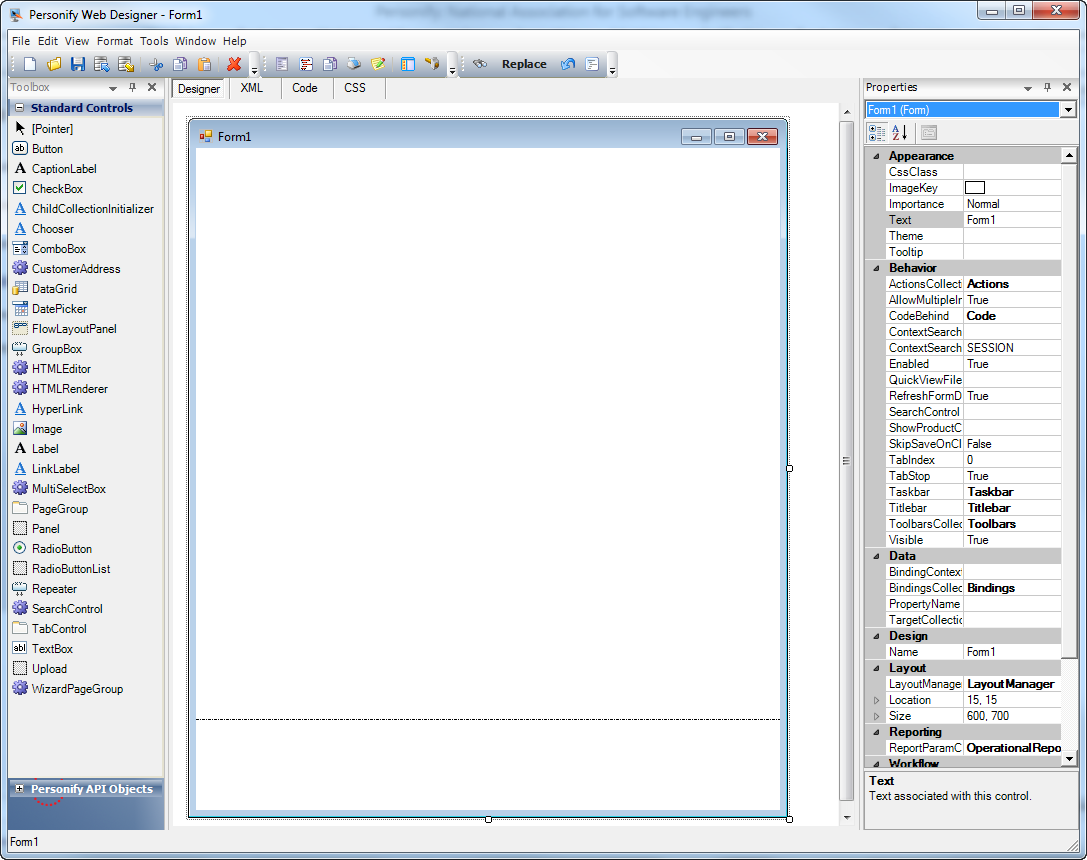
6. Once
you select the desired form type, it appears in the Application Designer,
surrounded by the necessary tools and properties to customize it as shown
below.
From this point forward in web form creation, the Web Form Designer is
used and behaves almost exactly the same as the Application Designer.
 The
slight differences in use between the Application Designer and Web Form
Designer are detailed in the sections below.
The
slight differences in use between the Application Designer and Web Form
Designer are detailed in the sections below.