If the Opt In/Out control is not web-enabled in the back office, it will not display on your site.
The Opt In/Out control is used to manage the specific areas of interest that a constituent has chosen to opt into or out of. See Configuring the Web Settings for the Opt In/Out Preferences Control for more information on how to drop this control onto a page on your e-Business website.
Before configuring web settings for the Opt In/Out Preferences control, it is important that your back office configurations are accurate. If not, these configurations will not display properly on your e-Business website. See Configuring the Back Office Settings for the Opt In/Out Preferences Control for more information on the system types and codes that need to be web enabled before setting up this control.
If the Opt In/Out control is not web-enabled in the back office, it will not display on your site.
This control is replacing the 7.4.1 Customer Opt-In Choices control.
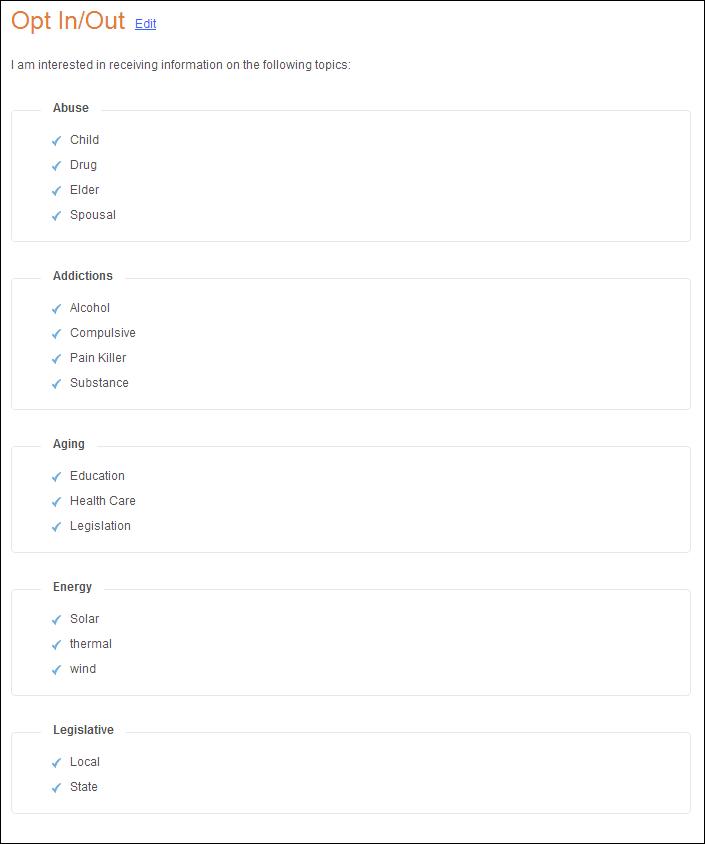
After setting up the Opt In/Out control, your user will see the control similar to the one displayed below.
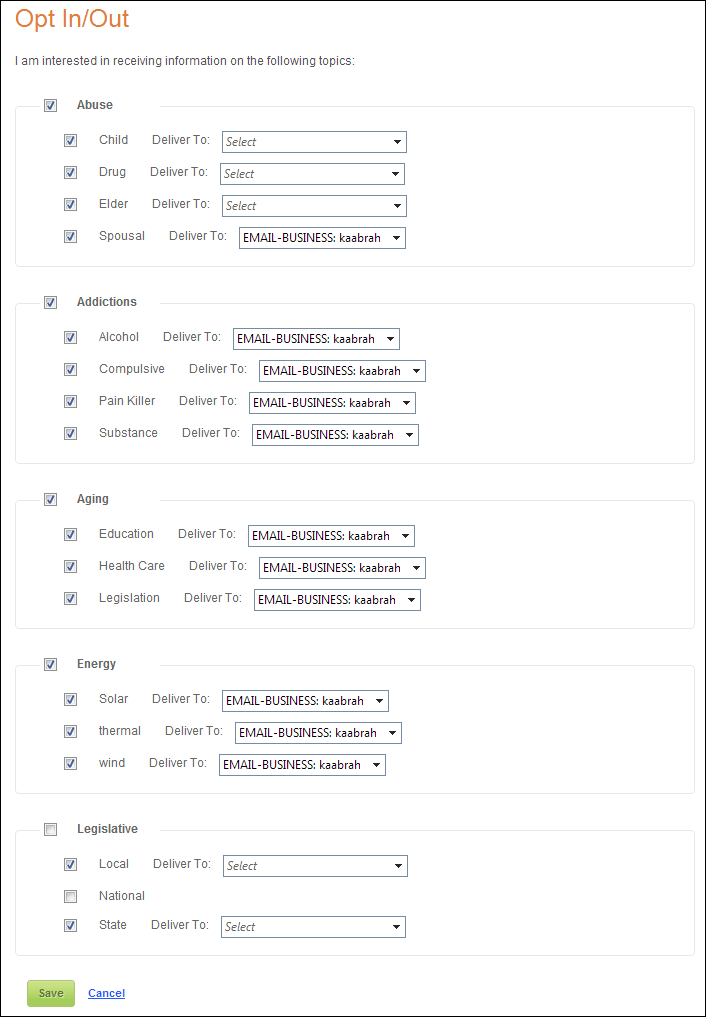
When the user selects the Edit link, he/she is able to change his/her opt in/out preferences, delivery methods, addresses (type and location), and opt out reasons, as shown below.
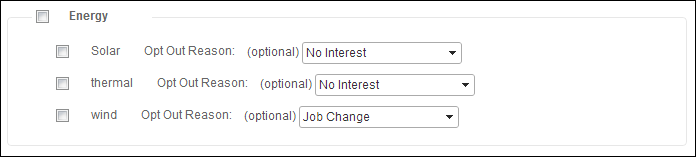
When the user selects to opt out, your user will see the screen similar to the one displayed below. From the drop-down, the user can choose why he/she wanted to opt out of the benefit.