The Types and Codes Maintenance search screen displays, as highlighted below.

To add new codes to the "COMM_LOCATION" system type:
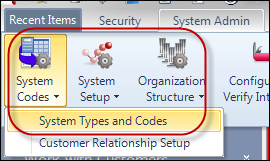
1. From
the Personify main toolbar, select System Admin > System
Codes > System Types and Codes, as highlighted below.
The Types and Codes Maintenance search screen displays, as highlighted
below.
2. In
the Type field, enter "COMM_LOCATION", as highlighted
below.
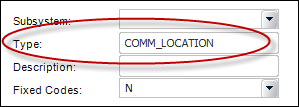
3. From
the Fixed Codes drop-down, select "N", as highlighted
below.

4. Click
Search.
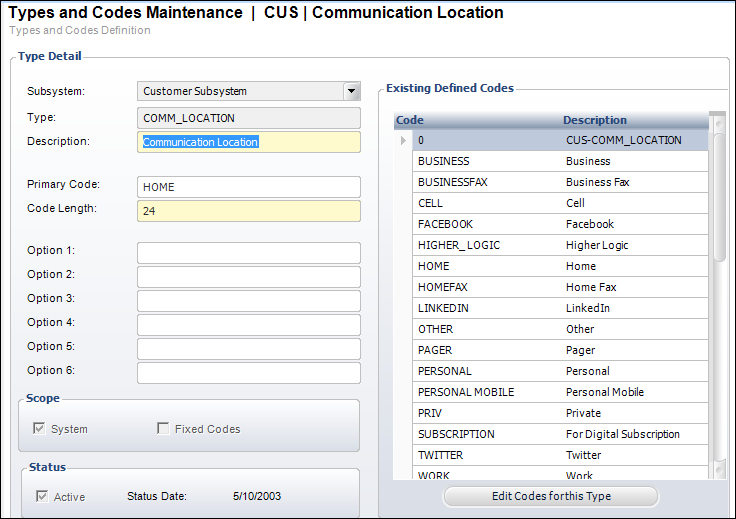
The Type Detail screen displays, as shown below.
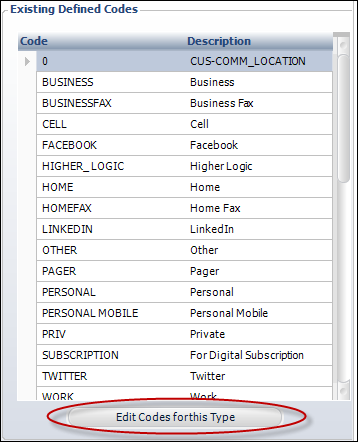
5. In
the Existing Code Definition section, click Edit Codes for this Type,
as highlighted below.
The Type Information screen displays, as shown below.
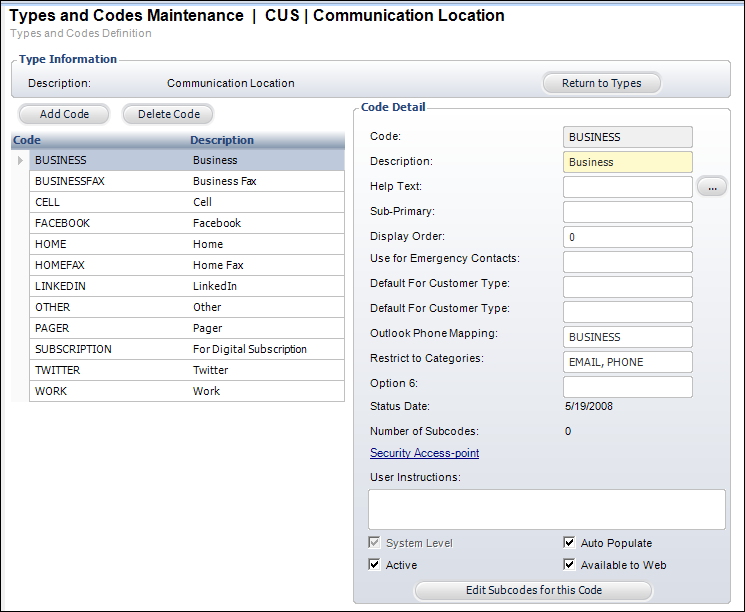
6. Click
Add Code, as highlighted below.

The fields in the Code Detail section enable, as highlighted below.
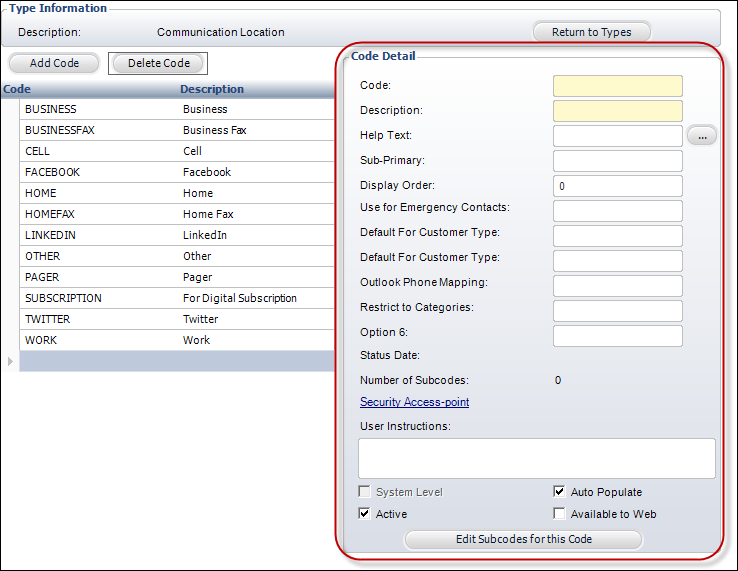
7. In the Code Detail section, enter the following information:
a. For the first nine options, refer to Adding System Types and Code.
b. In
the Restrict to Categories field, enter any combination of the
following: WEB, PHONE, EMAIL, or FAX.
These are fixed values, which mean they
cannot be changed.
c. If you want to list multiple locations (i.e., WEB, PHONE, EMAIL), each word needs to be separated by a comma.
 If
the Restrict to Category field is left empty, by default the location
will display in all categories (i.e., WEB, PHONE, EMAIL, and FAX).
If
the Restrict to Category field is left empty, by default the location
will display in all categories (i.e., WEB, PHONE, EMAIL, and FAX).
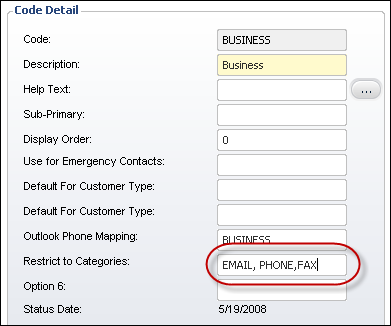
For example, in the Back Office, you can
enter "EMAIL, PHONE, FAX" in the Restrict to Categories textbox,
as highlighted below for the Business code.
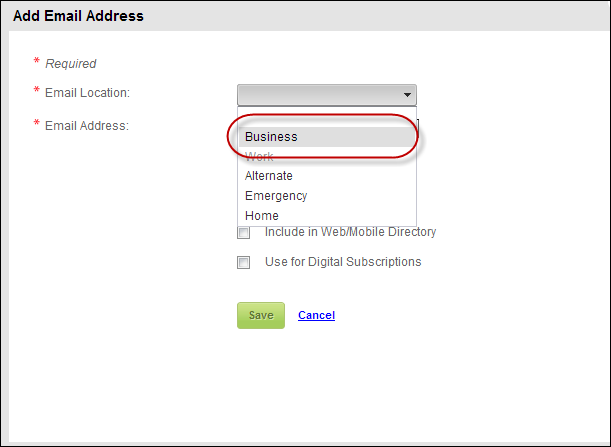
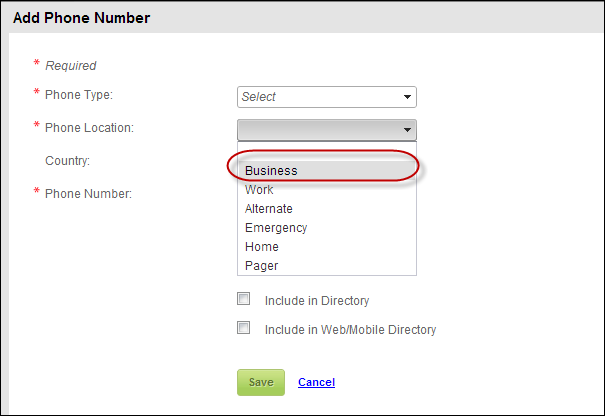
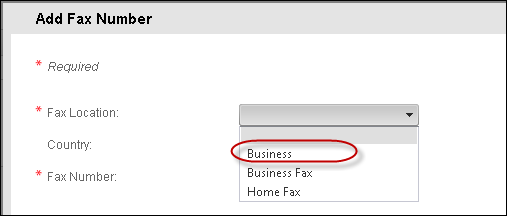
On your e-Business website, the option "Business" will display
in the Email, Phone, and Fax drop-downs for location, as highlighted below.
d. By default, the Active checkbox is checked.
e. By
default, the Auto Populate checkbox is checked. If necessary, uncheck
this.
This functionality is only available for use with "CONSTITUENT_ROLES"
system setup.
If selected, a row is automatically added for an individual or company
on the CRM360 screen. The first row entered will be selected as Primary.
The Primary checkbox is controlled by the Display Order of the codes for
the "CONSTITUENT_ROLES" type and cannot be edited. See Defining
a Constituent's Role Codes in CRM360™
for more information.
f. Select the Available to Web checkbox.
If
the Available to Web checkbox is not checked, the code will not display
on the web.
8. Click Save.