This control displays filters results by the product type and topic for narrowing search results. It allows your users to easily browse through your products by choosing the topic or category in which they are looking for an item. It also shows the number of items within each category. See Configuring the Web Settings for the Navigation Bar Control for more information on how to drop this control onto a page on your e-Business website.
Product
Types are set up through System Types and Codes within Personify. For
more information, please see
Setting
up System Types and Codes for Online Store.
Categories
need to be set up within the specific subsystem of your product. For example,
if you are looking to set up categories for Inventory Products, you would
use the Defining Inventory Product
Categories and Keywords topic. Once
your categories have been set up, they will display in a drop-down menu,
which you will be able to select from when creating each product. For
more information, please see
Creating
an Umbrella Product.
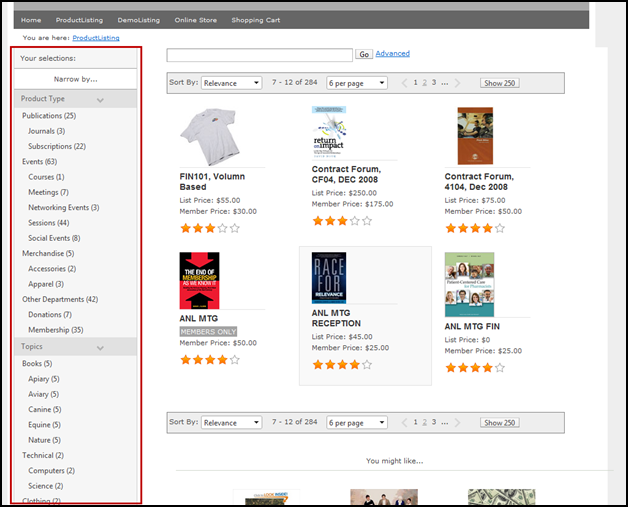
The Navigation Bar can be placed on the left or right-hand side of your web site and works with the Product Listing and Breadcrumb controls. It is recommended that you place it on the left.
The Navigation bar displays next to the Product Listing with the different product types, as shown below. Product Types are set up through System Types and Codes within Personify. For more information, please see Setting up System Types and Codes for Online Store. Categories need to be set up within the specific subsystem of your product. For example, if you are looking to set up categories for Inventory Products, you would use the Defining Inventory Product Categories and Keywords topic. Once your categories have been set up, they will display in a drop-down menu, which you will be able to select from when creating each product. For more information, please see Creating an Umbrella Product.