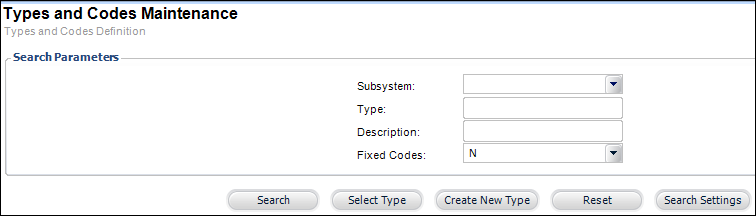
The Types and Codes Maintenance search screen displays, as shown below.
In order for the new Profile .NET controls to display on the e-Business website, you have to enable the system types and codes in the back office.
To web-enable the system types and code in the back office:
1. From
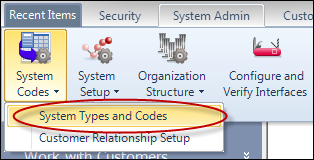
the Personify main toolbar, select System
Admin > System Codes > System Types and Codes, as shown below.
The Types and Codes Maintenance search screen displays, as shown below.
2. From
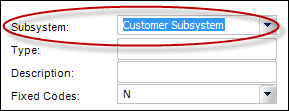
the Subsystem drop-down, select
the appropriate subsystem.
For example, if you wanted to web enable the PROG_DEGREE code, from the
Subsystem drop-down, you would select "Customer Subsystem",
as shown below.
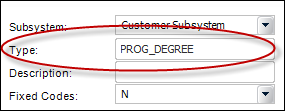
3. In
the Type field, enter the appropriate
system type.
For example, if you wanted to web enable the PROG_DEGREE code, in the Type
field enter "PROG_DEGREE", as shown below.
4. Click Search.
 If you do not type the code exactly
as listed above, you will get the following error message:
If you do not type the code exactly
as listed above, you will get the following error message:

You can put a % before and after a couple letters in the search. For example,
if you enter “%CUS”, the system will return CUSRELATION, CUS_COUPON_STATUS,
etc (See Personify
Wildcard Search for more information).
The Types and Codes Maintenance-Type
Detail screen displays, as shown below.
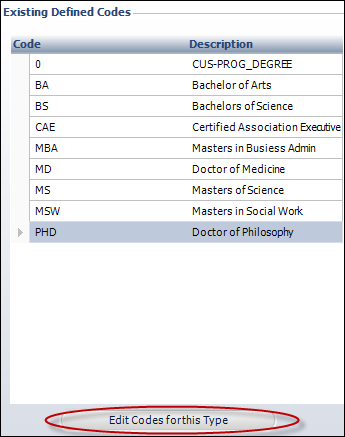
5. In
the Existing Defined Codes section, click Edit
Codes for this Type, as highlighted below.
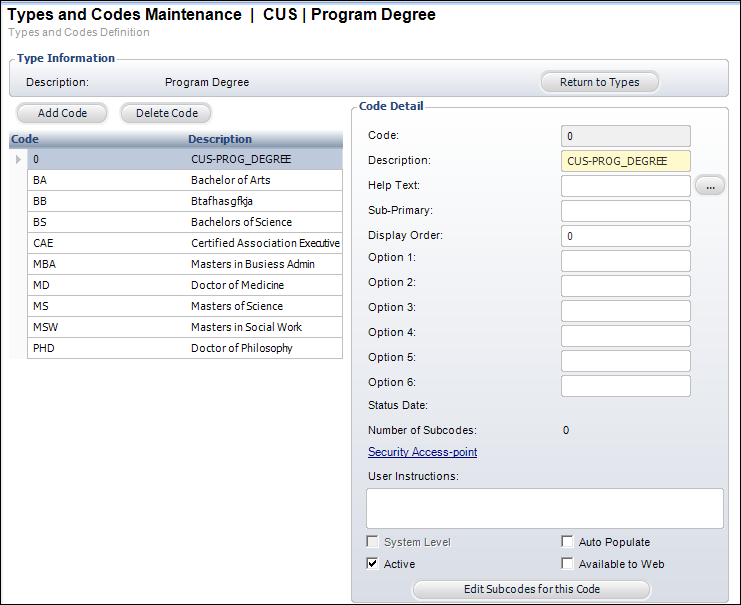
The Types and Codes Maintenance-Type Information screen displays, as shown
below.
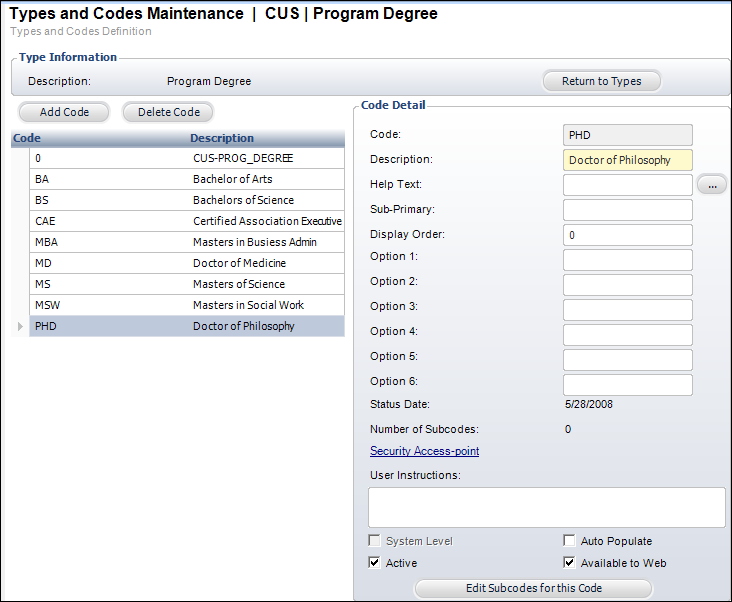
6. Select
the code that you want to be web enabled, and in the Code Detail section,
check the Available to Web checkbox,
as highlighted below.

Make sure that the Active checkbox is
also checked. If it is not, the code will not display on the e-Business
website.
7. Repeat
step 6 for all the codes that are listed.
For example, in order to enable all the codes for PROG_DEGREE, you would
select each code listed in the Code/Description section (e.g., Bachelor
of Arts, Bachelor of Science, Certified Association Executive, Masters
in Business Admin, etc), and check the "Available to Web" checkbox.
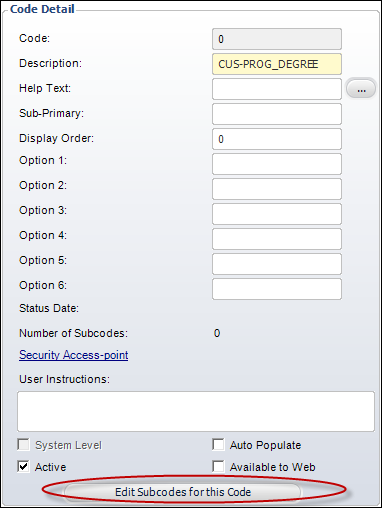
8. If the code has subcode(s) listed, perform the following:
a. In
the Code Detail section, click Edit Subcodes
for this Code, as highlighted below.
The Types and Codes Maintenance-Types and Codes Definition screen displays,
as shown below.
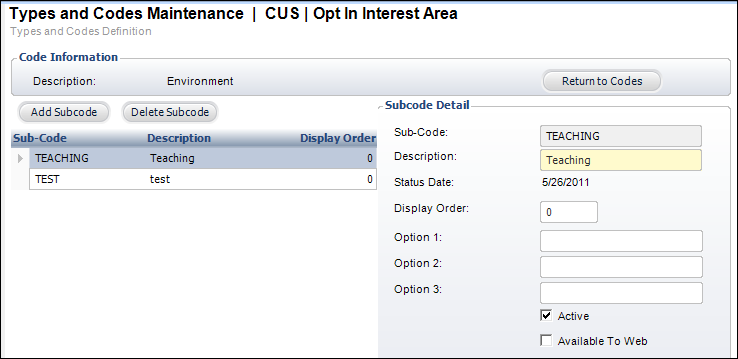
b. Select
a subcode that you want to be web enabled, and in the Subcode Detail section,
check the Available To Web check box, as highlighted below.
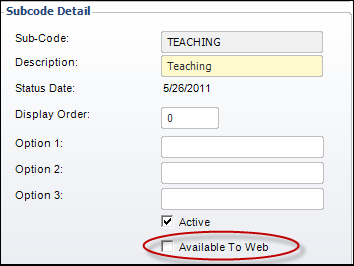
Make sure that the Active checkbox
is also checked. If it is not, the subcode will not display on the e-Business
website.
c. Repeat step 8 for all the subcodes that are listed.
9. Click Save.