The Customer Registration web module is used to allow new customers to register with your organization via the web.
To configure the Customer Registration web module:
1. Log into your site as Host.
2. Navigate to the appropriate page on your site where you want to add the Customer Registration web module.
3. From the Host toolbar, select the “Personify-Customer Registration” option from the Module drop-down.
4. Click Add Module To Page.
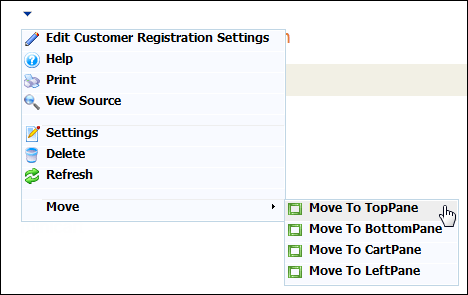
5. Move
the web module to the appropriate place on the page, as shown below.
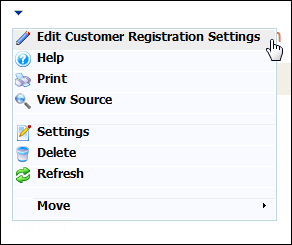
6. From
the web module menu, click Edit Customer
Registration Settings.
7. The
following page displays:
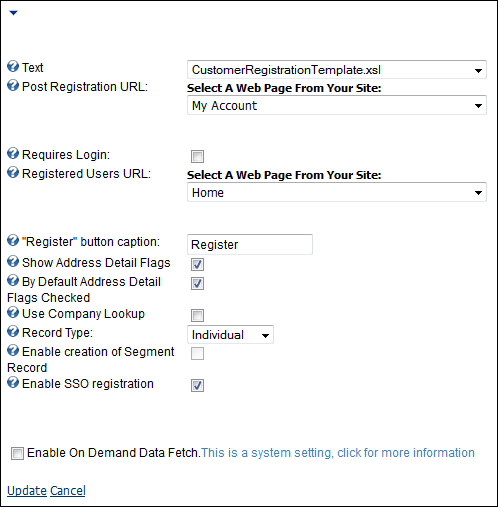
8. Configure the appropriate module settings as described below:
· Text - Drop-down. Select the template in which the Customer Registration module displays in.
· Post Registration URL - Drop-down. Select the page from your site to which the customer is directed to upon registering.
· Requires Login - Checkbox. Select if you want to require customers to login before registering
· Registered Users URL - Drop-down. Select the page from your site that a customer who is already registered with your site is directed to, if they are trying to register again.
· “Register” button caption - Text box. Allows you to rename the “Register” button.
· Show Address Detail Flags - Checkbox. Allows you to determine if the Address Detail flags display for a registering customer. This allows a customer to enter the address as the Primary address, Bill address, Ship address, etc.
· By Default Address Detail Flags Checked - Checkbox. When checked, the Address Detail flags will be checked by default.
· Use Company Lookup - Checkbox. When selected, the system will attempt to match the registering customer's company with one already listed in the database.
· Record Type - Drop-down. This determines the type of customer record created after registration.
· Enable creation of Segment Record - Checkbox. When checked, the customer record will also be created as a segment record after registration. This flag is only active if the Record Type selected is Company or Committee.
· Enable SSO registration - Checkbox. When checked, the customer is also able to register for Single Sign-On.
9. Click Update.
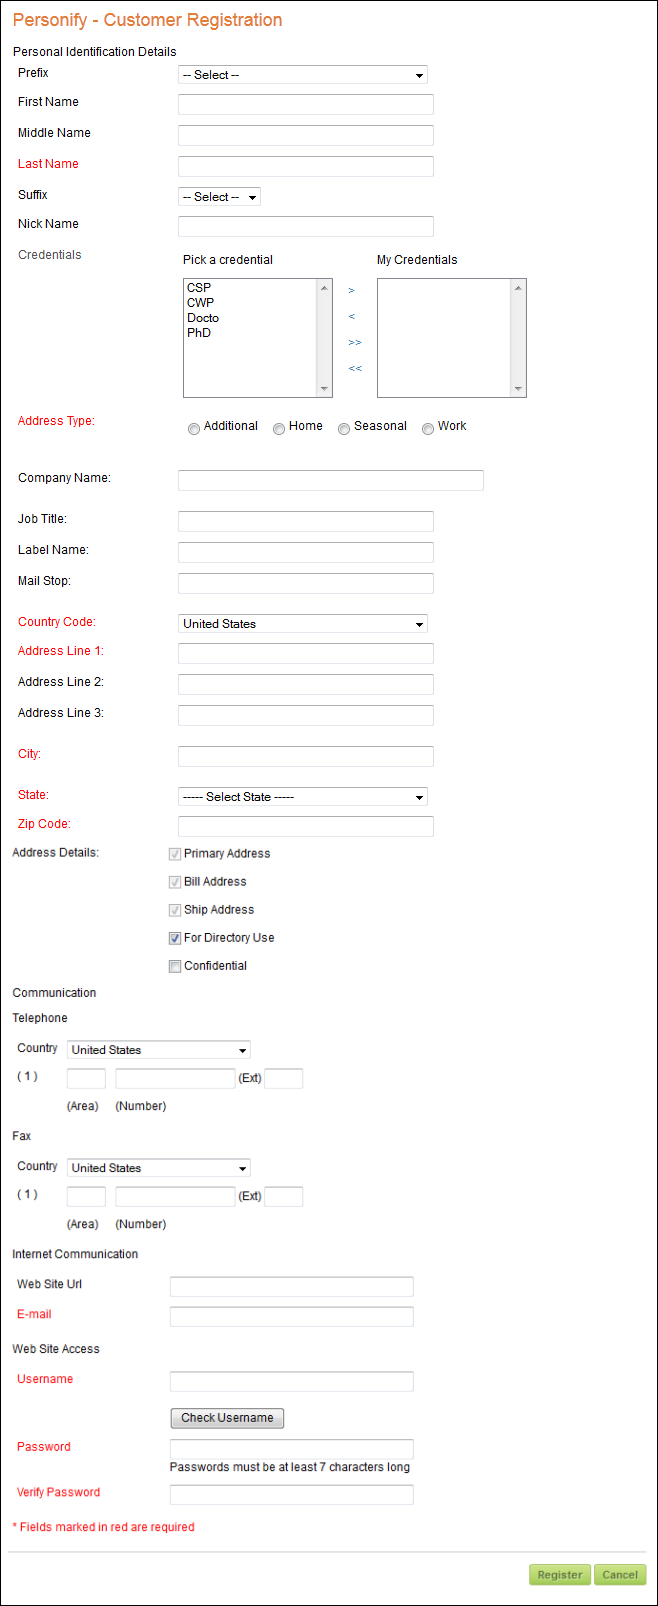
Depending on the parameters you selected when setting up the Customer Registration module, your customers will see the module similar to the one displayed below.
 By
design, the customer class for customer’s registering on the Web is hard
coded to be INDIV. Any customer who registers via the Customer Registration
web module will have a customer class of Individual. You must ensure that
this code exists for the CUSTOMER_CLASS type in System Types and Codes.
By
design, the customer class for customer’s registering on the Web is hard
coded to be INDIV. Any customer who registers via the Customer Registration
web module will have a customer class of Individual. You must ensure that
this code exists for the CUSTOMER_CLASS type in System Types and Codes.