The Select A Web Control screen displays.
To configure the web setting for the Communication Preferences control:
1. Log into your e-Business site as host.
2. Navigate
to the appropriate page on your site where you want to add the .NET control.
See Adding and Managing Pages for
information on how to add a page to your website.
3. Add
the Personify- DNN Web Control Container module to the page.
See Installing .NET Controls for
more information.
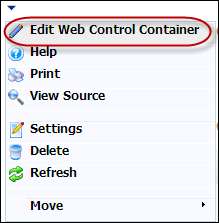
4. Select
Edit Web Control Container option from the downward arrow icon,
as highlighted below.
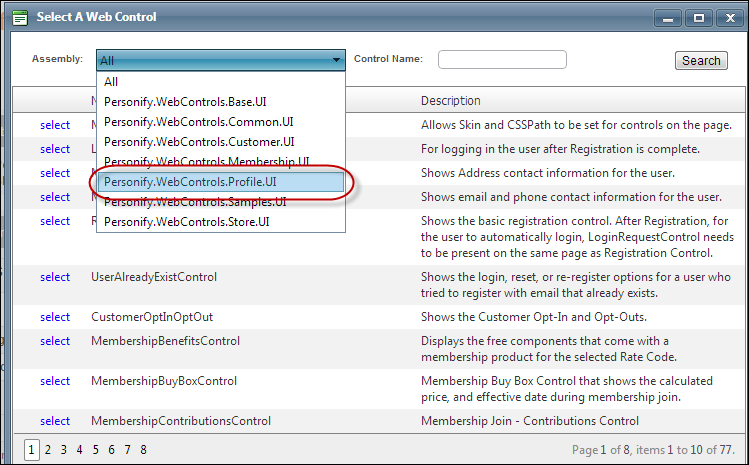
The Select A Web Control screen displays.
5. From
the Assembly drop-down, select Personify.WebControls.Profile.UI,
as highlighted below.
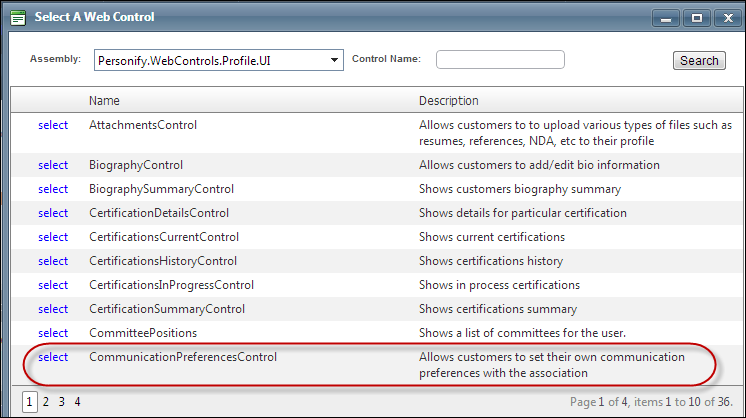
6. In the Control Name field, enter “CommunicationPreferencesControl” and click Search.
7. Click
select next to “CommunicationPreferencesControl”, as highlighted
below.
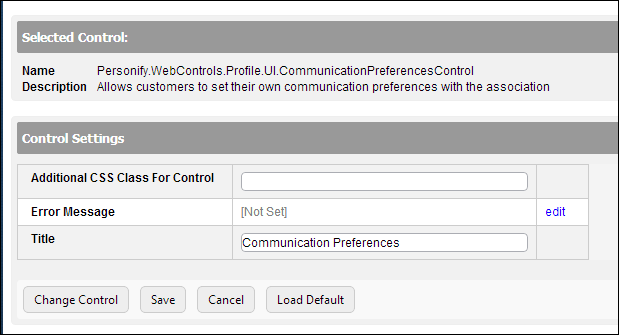
The Control Settings for this control display, as highlighted below.
 You
can only enter 250 characters in the text fields.
You
can only enter 250 characters in the text fields.
8. In
the Additional CSS Class for Control field, enter the CSS class,
if necessary.
This option allows you to add additional layout to the skin by developing
a new DOTNETNUKE style, which requires an advanced understanding of HTML
and CSS. See Using Skins for
more information.
9. If necessary, select or create a new Error Message.
a. If left blank and the "PersonifyErrorMessage" do not return a result, the default error message, "An error occurred while performing [Insert Action]. If the problem persists, please contact the site administrator", will display.
b. If you wish to change the default error message, customize it with a PWF parameter. See Setting up PWF Parameters for more information.
10. In
the Title textbox, enter a name for your control, if necessary.
This will display the control's name to the user on your (e.g., Communication
Preferences) on your e-Business website, as displayed in the customer
impact section.
11. Click Save.