 Click
here
to access the DNN Online Help.
Click
here
to access the DNN Online Help.
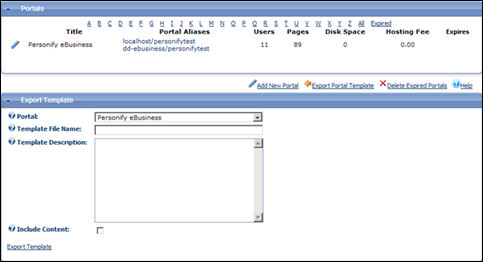
The Portals page allows you to perform a number of portal-related tasks, including viewing portal information, exporting a template, deleting expired portals, or adding a new portal. Portals should be set up by Org Unit. For example, you may have a portal for you Texas chapter and another portal for your Virginia chapter.
Click
here
to access the DNN Online Help.
To access the portals module:
1. From
the toolbar, select Host > Portals.
The Portals page displays as shown below.
2. Click
Add New Portal.
The Add New Portal screen displays as shown below.
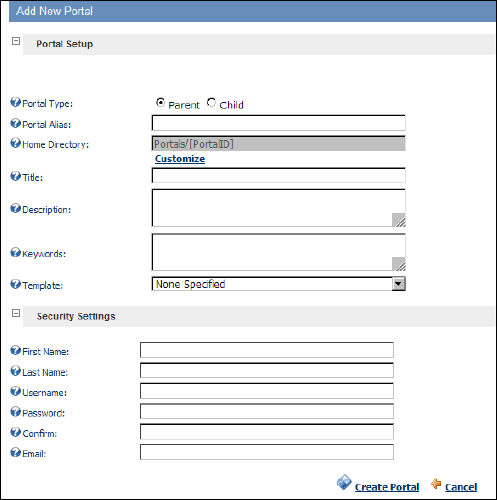
3. Select whether the Portal Type is either Parent or Child.
4. Enter your Portal Alias in the text box (e.g., http://www.domain.com).
Your
portal alias table needs to hold all the combinations of aliases for your
site for Shopping Cart
Web Module.
5. Enter the Title of the site in the text box.
6. If necessary, enter a Description in the text box.
7. If necessary, enter the Keywords associated with the site.
8. If necessary, select a Template from the drop-down.
9. In the Security Settings section, enter the First Name of the Site Administrator.
10. Enter the Last Name of the Site Administrator.
11. Enter a User Name
12. Enter the Password and Confirm the password in the text boxes.
13. Enter the Email address of the Site Administrator.
14. Click Create Portal.
After
the initial creation of your portal(s), you have the option to modify
many settings of each portal. It is important to remember that these settings
are all DNN settings and are not used by Personify. This especially important
to remember when setting up multiple currencies with your e-Business application.