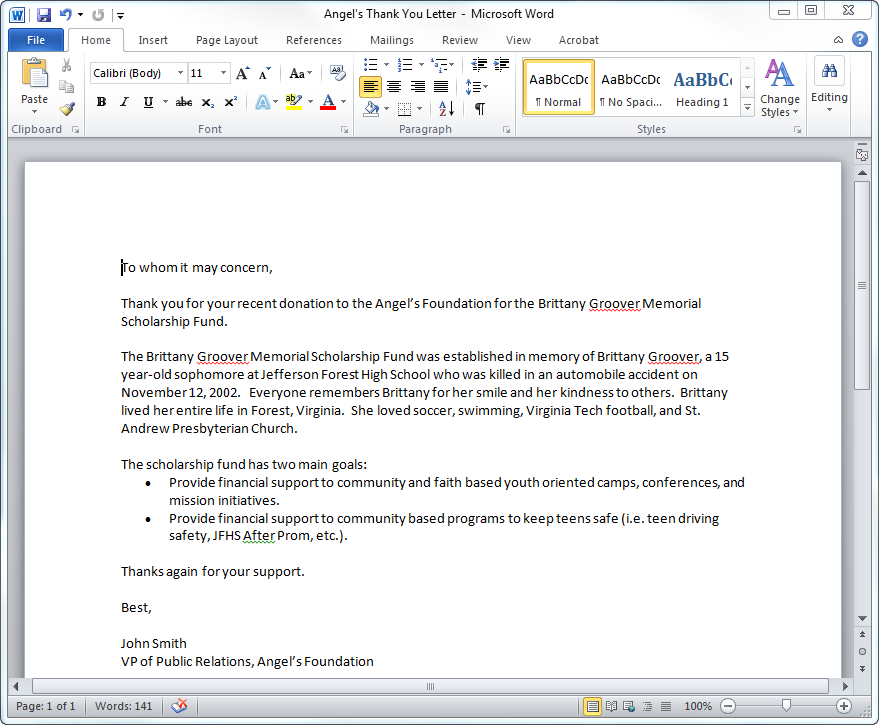
For example:
When sending a standard letter to a constituent, you can custom the letter to be specific to the constituent by using mail merge in Microsoft Word.
To create a mail merge document:
1. Create
a generic letter or form in the Microsoft Word format that will be used
for the merge letter.
For example:
2. Create a new standard letter setup.
3. From
the Standard Letter Maintenance screen, click Create/Edit
Mail Merge Template from the Common Tasks category.
Personify displays a message asking if you want to modify an existing Word
mail-merge template.
4. Click
Yes.
The Browse window displays.
5. Navigate
to the document created in step 1.
The document opens in Microsoft Word.
6. On the Mailings tab, click the
Insert Merge Field button
to open the popup with the list of Personify fields, as shown below.
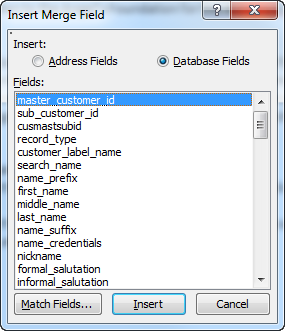
7. Select either the Address Fields or Database Fields radio button to narrow the results.
8. Select
the appropriate field that you want in your standard letter and
drag it onto the right spot in the document, as shown below.
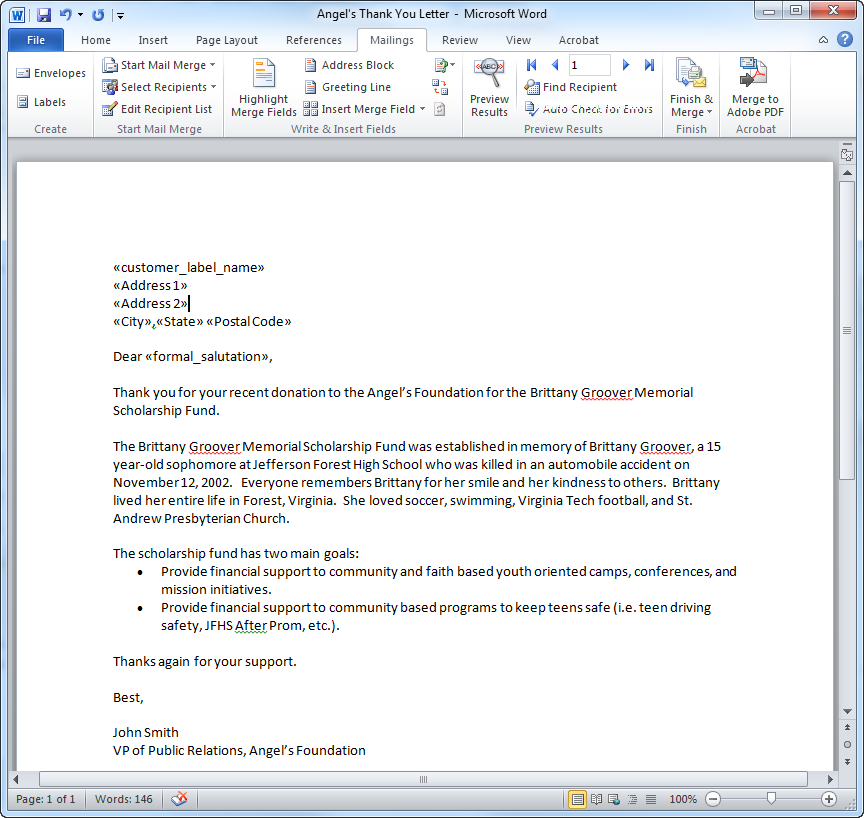
9. Click
Preview Results to see how the
data will look in the merged document.
Click Preview Results again to see the field names.
10. Click Save.