The designer provides you with a “canvas” for you to create your workflow on. On the left is a list of icons in the Toolbox which represent the Workflow Objects. You must drag the icons over from the left onto the canvas in order to add objects to your workflow.
The Workflow Designer also has a Menu Bar similar to the one available in other Studio Tool Designers. This is where you can reach Save, Synchronize, and Report information.
The Zoom Options include a “Zoom to Fit” function which resizes your workflow to the height of your canvas and a “Custom Zoom” function which allows you to enter the zoom percentage you would like. Next to the Zoom Options is a “Refresh” icon that realigns your workflow to the center of the screen if you click on it.
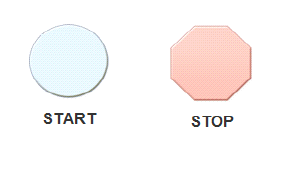
If you are creating a new workflow, the canvas opens just as the image appears above. This includes the basic Start and Stop objects already on the canvas. You can not add or delete these objects to your workflow, but you can add and delete as many objects as necessary in between these two objects to create your workflow.
At any point during/after the creation of your workflow,
you can double-click the Start icon to view all the commands and
specific rules you added thus far to the workflow in the process order.
The list of rules display as a read-only version of the Edit Rule window
discussed later in Editing Object Rules.
In order to view the entire list of rules, you may need to expand the
size of the Edit Rule window.
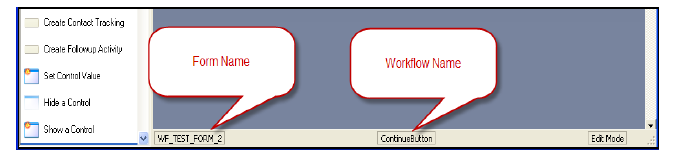
At the bottom of the Workflow Designer, two labels appear. These labels are read-only. The one of the left displays the Form Name you opened the Workflow Designer through which is also the form in which you create during this session will be associated with. The label on the right displays the name of the Workflow you are currently working on. If you have not saved your workflow yet, the name appears at “Untitled.”