 To
perform a silent install, place the installer.properties file in the same
directory as install.exe, then run the installer. The installer detects
the presence of this file and runs it without user interaction.
1. On your server, uncompress the Spectrum Platform 7.0 downloaded in step 1 and double-click the install.exe.
 To
perform a silent install, place the installer.properties file in the same
directory as install.exe, then run the installer. The installer detects
the presence of this file and runs it without user interaction.
2. If
a Security Warning displays asking if you want to run or save this file,
click Save, select a path to save
the application to, and click Save
again.
The application prepares for installation, demonstrated below.
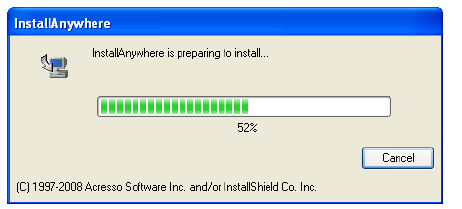
3. After the InstallAnywhere completes, navigate to the location you saved it and double-click install.exe.
4. If
a Security Warning displays, click Next.
The Spectrum Technology Platform Installer screen displays like the following.
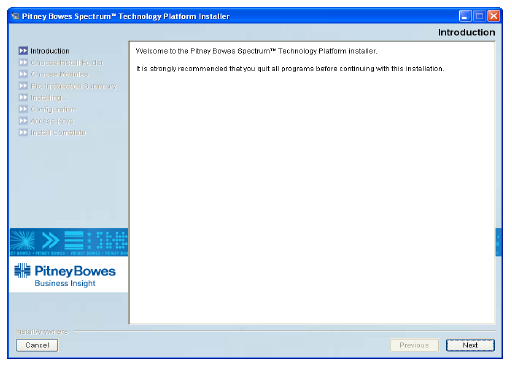
5. Click
Next.
The Copyright Information screen displays like the following.
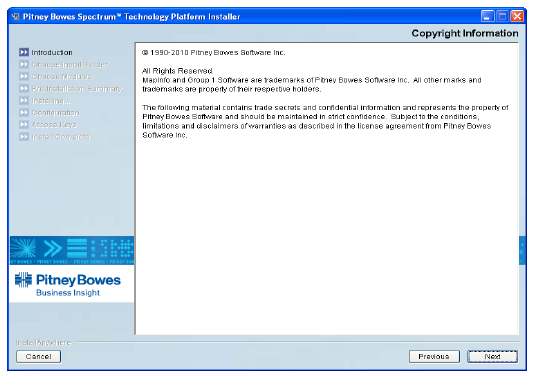
6. Click
Next.
The Select Archictecture screen displays.
7. Choose
64-bit (recommended) or 32-bit and click Next.
The Choose Install Folder screen displays like the following.
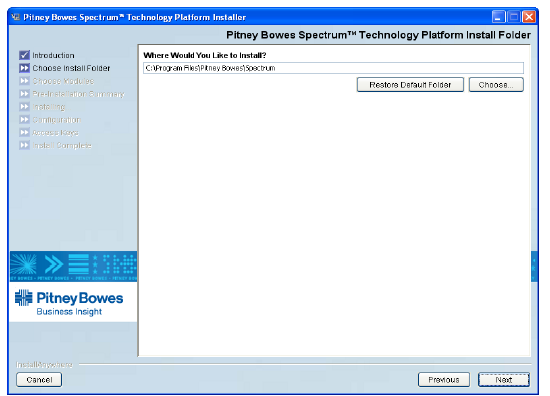
8. Enter the folder file path for where you would like to install the application, or click Choose to search and select the file path.
 If
you want to use the default folder the installation selects for you, click
Restore Default Folder.
9. Click
Next.
The Choose Modules screen displays, as shown below.
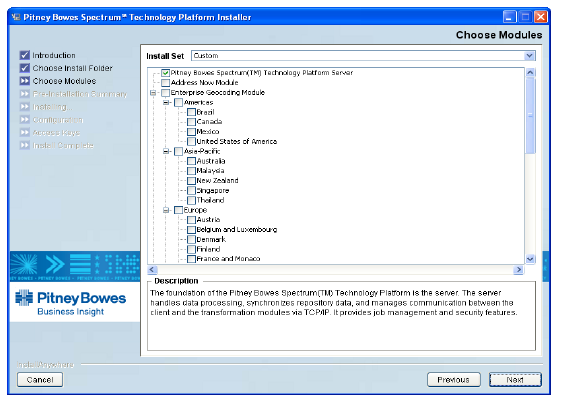
This screen lists the different modules you can select to install with
onto your Spectrum Platform.
To view the description of a module, click on the module name.
10. Check the following checkboxes:
· Pitney Bowes Spectrum(TM) Technology Platform Server
· Enterprise Geocoding Module - Americas - United States of America
· Location Intelligence Module
· Universal Addressing Module
· Universal Name, Data Normalization and Advanced Matching Module
11. Click Next.
The Pre-Installation Summary screen displays, as shown below.
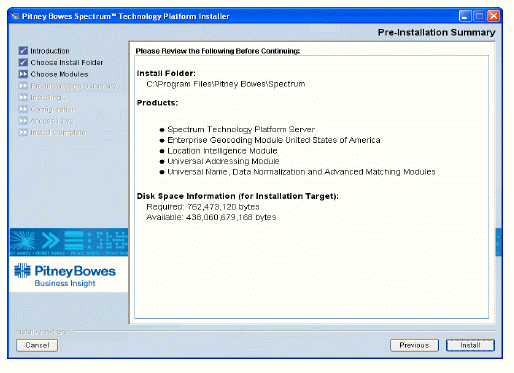
12. Confirm
the installation setup and click Install.
The application begins to install and the Configuration screen displays,
as shown below.
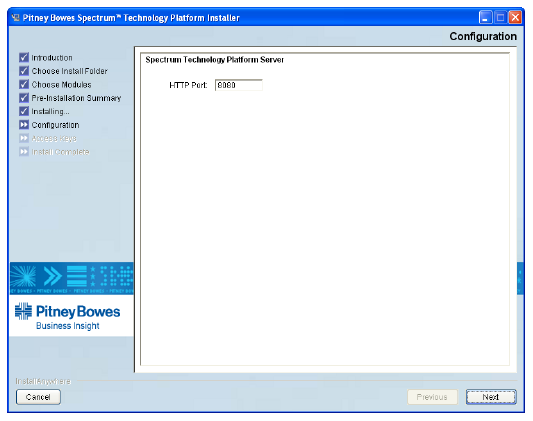
13. Choose the appropriate port number and click Next.
 If
this is the same server where BusinessObjects is installed, a conflict
could arise with using port 8080.
14. When
the Enter Access Keys screen displays like the following, enter the valid
access keys, and click Next.
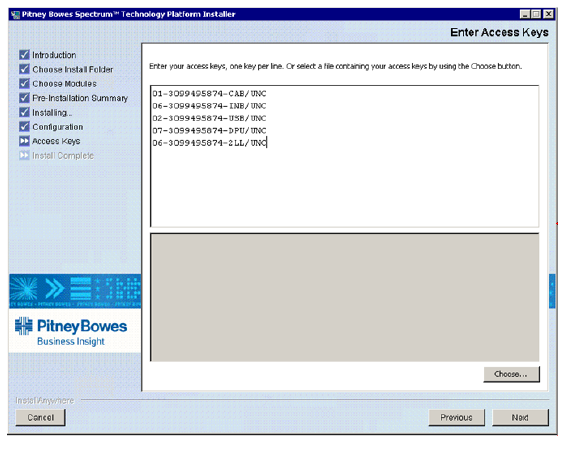
 For
a successful install, you must enter a valid access key. Contact your
Customer Service representative to obtain an access key (for example,
06-2199745954-USR/UNC). The access key is a temporary software license
and grants access for 45 days. An access key should be used for installation
within 17 days of issue.
If you do not have access keys, you may still install the software, but
you will not be able to use it without access keys or a license file.
15. Follow
the prompts to complete the installation.
When you complete the installation, the Spectrum Platform starts automatically
and a Spectrum Platform icon appears in your Windows system tray, like
the following.
![]()