The Column Attributes section contains four different tabs that are displayed below the window:
· Column Attributes
· Table Attributes
· Output
· Error List
To work with attributes, you must first double-click a table. The Column
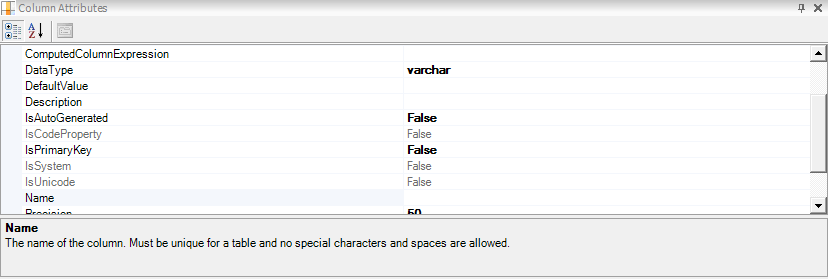
Attributes tab, displayed by default, lets you set parameters for various
table column attributes, including code details, data type, description,
etc. To add to or modify the column’s attributes, click on the table cell
to the right of the description. These table cells may be drop-downs,
text boxes, file boxes, etc. If you are not certain what a particular
attribute does, a brief definition of the attribute displays below the
table, as shown below.

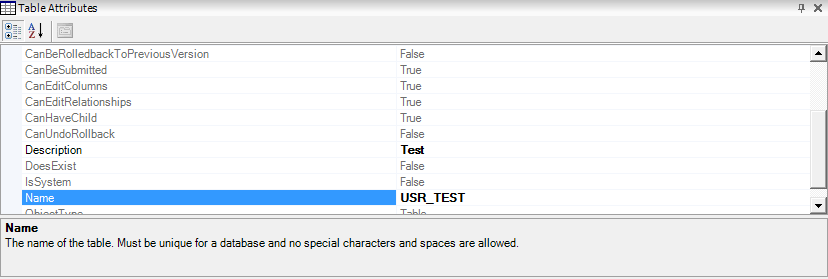
The Table Attributes tab is similar to the Column Attributes tab, except
that this tab focuses solely on attributes relating to your table, and
not columns within your table. These attributes are more high-level than
column attributes, as shown below.

The Output tab acts as a log that displays any table activity, for example, export records. When you create a new table, the Output tab is blank.

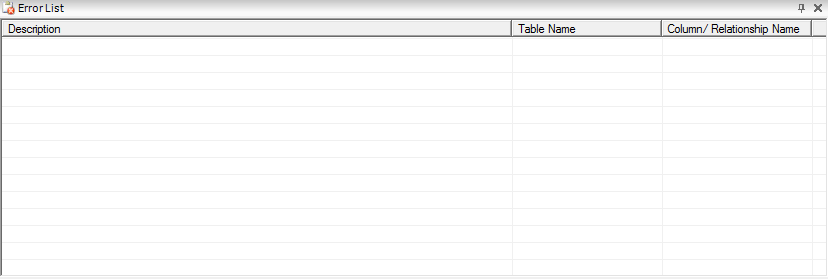
The final tab, Error List, provides a list of any errors that might
occur when validating your database and its tables. This tab provides
a description of the error, the corresponding table name, and the column/relationship
where it occurred. The Error List is demonstrated in the image below.

By right-clicking an error message, you can specify whether or not you want Personify to ignore the error for now or to take you where the error occurred.
 You
can also toggle between these tabs using the Database Designer toolbar
icons.
You can use the refresh icon (![]() )
in the toolbar at any time to make sure that you have the most up-to-date
information in your tables.
)
in the toolbar at any time to make sure that you have the most up-to-date
information in your tables.