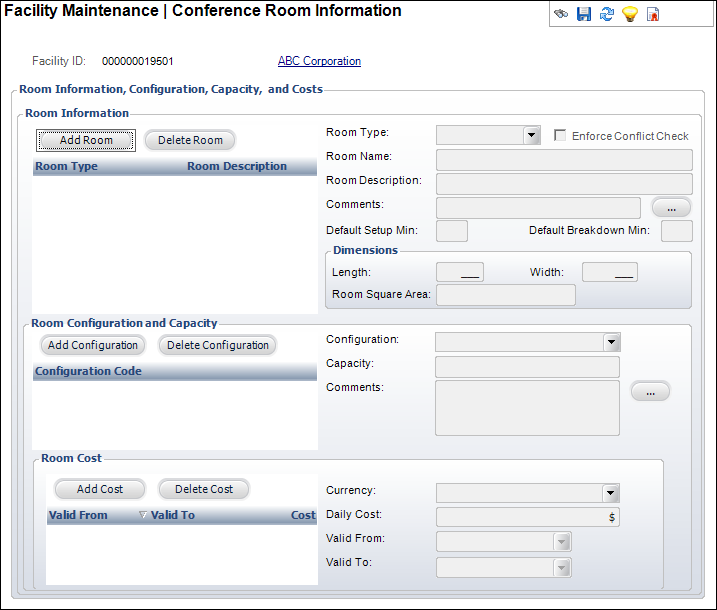
The Conference Room Information screen displays, as shown below.

Once you have created a new facility, various room information must be added and maintained, including room information, room configuration and capacity, and room cost.
To modify room information:
1. From
Facility Setup tasks category, click Maintain
Room Information.
The Conference Room Information screen displays, as shown below.

2. From the Room Information section, click Add Room.
 You
can also click Delete Room to
delete any Room entries entered previously. Please note that deleting
a room will remove all associated configurations (i.e., configurations
and costs).
3. Select
the Room Type from the drop-down.
The values are populated based on the non-fixed ROOM_TYPE system type for
the MTG subsystem.
4. Check
the Enforce Conflict Checking checkbox
if you want Personify to notify you of any scheduling conflicts that may
arise when creating room reservations for this room.
You can create a room without this checked to use it specifically for virtual
or unassigned room reservations.
5. Enter
in the Room Name.
This is the name of the room in the facility. This will serve as the room’s
identifier on the visual scheduling screen.
6. Enter
in the Room Description.
This is a short description of the room.
7. If necessary, enter any Comments about the room or click the ... button to open the Comments screen to enter additional comments.
8. If
necessary, enter in the Default Setup
Min time.
This is the usual amount of time required to set up the room for use in
minutes.
9. Enter
in the Default Breakdown Min
time.
This is the usual amount of time required to breakdown or reconfigure the
room to its original state in minutes.
10. From
the Dimensions section, enter in the Length and
Width of the room.
The Room Square Area field will automatically calculate using these
two values and is read-only.
 Configuration
information is not a requirement for setting up rooms.
11. From
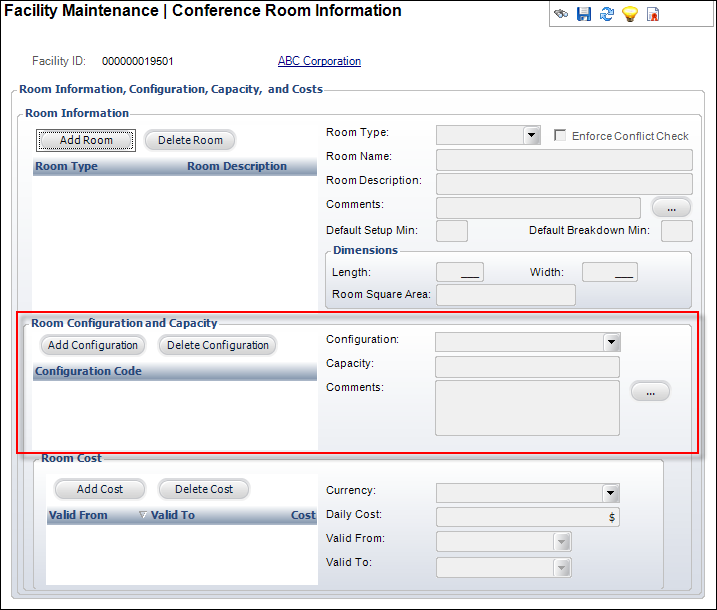
the Room Configuration and Capacity section (highlighted below, click
Add Configuration.

 You
can also click Delete Configuration
to delete any configuration entries entered previously.
12. Select
the Configuration from the drop-down.
The values are populated based on the non-fixed ROOM_CONFIGURATION system
type for the MTG subsystem.
13. Enter
in the Capacity.
This is the amount of people or attendees this room configuration can seat.
14. If necessary, enter any Comments for the configuration or click the ... button to open the Comments screen to enter additional comments.
15. From
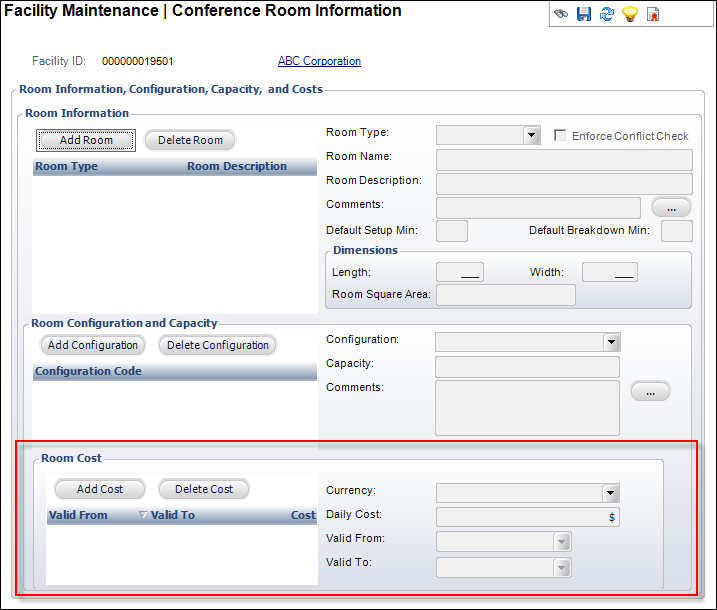
the Room Cost section (highlighted below), select Add
Cost.

 You
can also click Delete Cost to
delete any Cost entries entered previously.
16. Select the Currency that is accepted for the room from the drop-down.
17. Enter
in the Daily Cost for the
room.
This is the amount it will cost to rent the room on a daily basis.
18. Select
the Valid From from the calendar
drop-down.
This is the beginning of the date range for when the room is available.
19. Select
the Valid To from the calendar
drop-down.
This is the end of the date range for when the room is available.
20. After you have entered in all of the room information, click Save.
| ||||||||||||||||||||||||||||||||||||||||||||||||