For example:
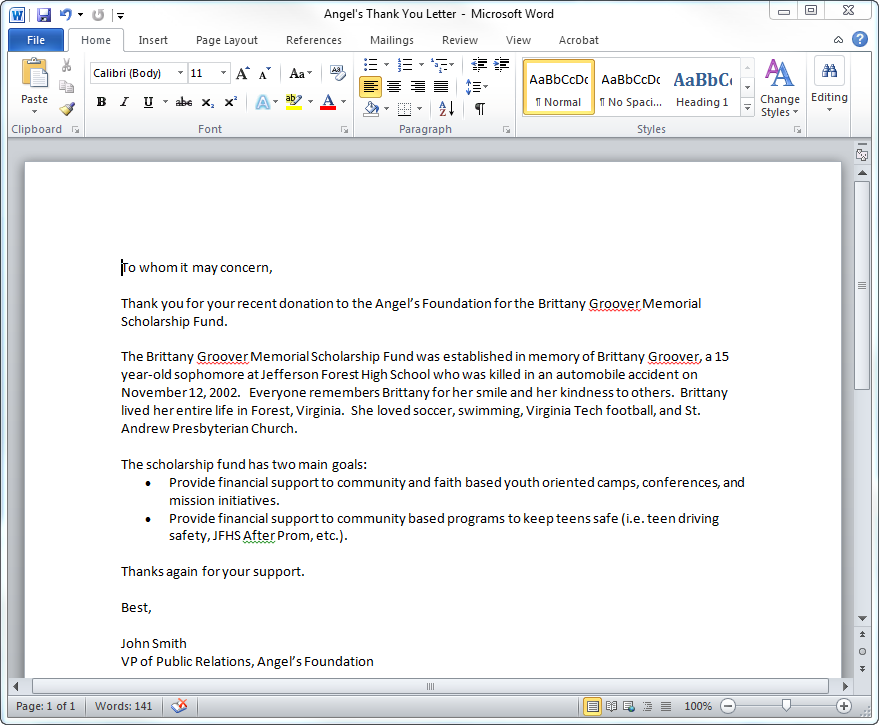
Standard letters can be used as a basic template for communicating with customers. For example, you can create a standard letter to send to selected customers thanking them for a recent donation.
Standard letters should be saved on the server location designated in the TimssInterfaceConfig.xml file, as highlighted below.
<ServerPath>
<StartInternetURL>http://Myserver.com/timsspages/eisreports/t6webconsole.htm?user=</StartInternetURL>
<HelpURL>C:\Personify\Server 7.3.1\Base Online Help\Personify</HelpURL>
<CustomerInfoDocPath>C:\Personify\Server 7.3.1\CusDocs</Customer</InfoDocPath>
<CommitteeMinutesPath>C:\Personify\Server 7.3.1\CommitteeMinutes</CommitteeMinutesPath>
<StandardLetterPath>C:\Personify\Server 7.3.1\StandardLetters</StandardLetterPath>
<ProductImagesPath>C:\Personify\Server 7.3.1\ProductImages</ProductImagesPath>
<ProductFilesPath>C:\Personify\Server 7.3.1\ProductFiles</ProductFilesPath>
<TRSApplicationPath>C:\Personify\Server 7.3.1\Services\TRS\APPL</TRSApplicationPath>
<TRSOutputPath>C:\Personify\Server 7.3.1\Reports\OUTPUT</TRSOutputPath>
<TRSInputPath>\\C:\Personify\Server 7.3.1\Reports\INPUTs</TRSInputPath>
<EmailAddressForError>lspitalny@tmaresources.com</EmailAddressForError>
<AbstractFilesPath>C:\Personify\Server 7.3.1\AbstractFiles</AbstractFilesPath>
<ADVERTISEMENTFILESPATH>\\MyAppserver.com\c$\Personify\Serverfiles\AdvertisementFiles</ADVERTISEMENTFILESPATH>
<BPATEMPLATE>\\MyAppserver.com\c$\Personify\Serverfiles\BPATEMPLATE</BPATEMPLATE>
</ServerPath>
To create a new standard letter:
1. Create
a generic letter or form in the Microsoft Word format that will be used
for the merge letter.
For example:
2. From
the Personify main toolbar, select CRM/Orders
> Call Center Setup > Standard Letter Setup.
The Standard Letters Maintenance search screen displays.
3. Click
Create New Standard Letter.
The Standard Letters Maintenance screen displays, as shown below.
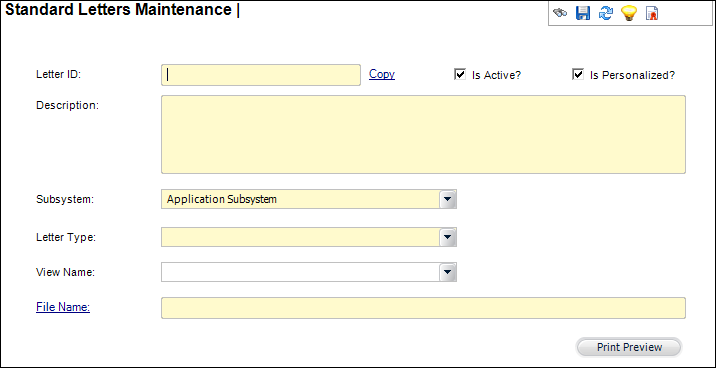
4. Enter
a unique Letter ID.
If necessary, click the Copy link
to copy the Letter ID.
5. Enter a Description of the standard letter.
6. Select the appropriate Subsystem from the drop-down.
7. Based
on the selected Subsystem, select the appropriate Letter
Type from the drop-down.
The values are populated based on the non-fixed LETTER_TYPE system type
for the selected subsystem.
8. Select the appropriate View Name.
9. Click the File Name link to search for and select the generic letter created in step 1.
10. Select whether or not the new standard letter Is Active?
11. Select whether or not the new standard letter Is Personalized?
12. Click Print Preview to view the new standard letter in Microsoft Word, if necessary.
13. If necessary, proceed to create a mail merge document.
See Also: Generating a Standard Letter for a Customer