The Resume/Related Documents screen displays on the Demographics tab, as shown below.
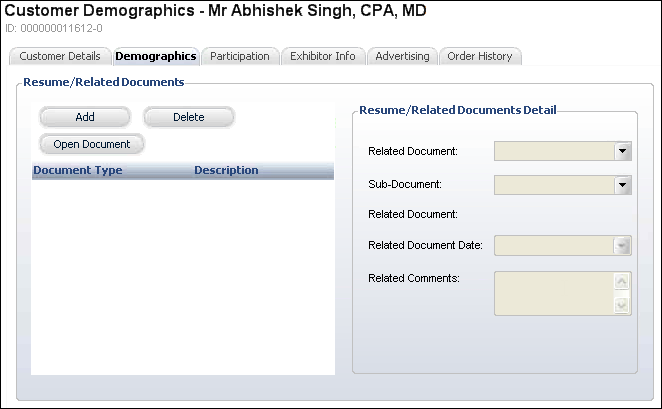
The Resume/Related Documents screen enables you to add and maintain customer-related documents. TMA Resources recommends you append the document name with the Master Customer ID so that documents are stored on the server by Master Customer ID. If document already exists, select the document and click Open Document to view the document.
To add a resume or related document:
1. Click
Resume from the Demographics task
category.
The Resume/Related Documents screen displays on the Demographics tab, as
shown below.
2. Click
Add.
A pop-up window displays.
3. Locate
the appropriate document and click Open.
The highlighted document is copied to the local TEMP folder and opened
using the Windows standard file relationships. The Related Document name
and Related Document Date automatically populate with the document information.
4. Select
the Related Document type from the drop-down.
Values are populated based on the non-fixed CUS "CUSTOMER_DOCS"
system type.
5. If
necessary, select the Sub-Document type from the drop-down.
Values are populated based on the subcodes defined for the non-fixed CUS
"CUSTOMER_DOCS" system type.
6. By default the Related Document Date is set to today. Change this if necessary.
7. If necessary, enter any Related Comments.
8. Click Save.