The next set of steps concerns users and user groups for BusinessObjects.
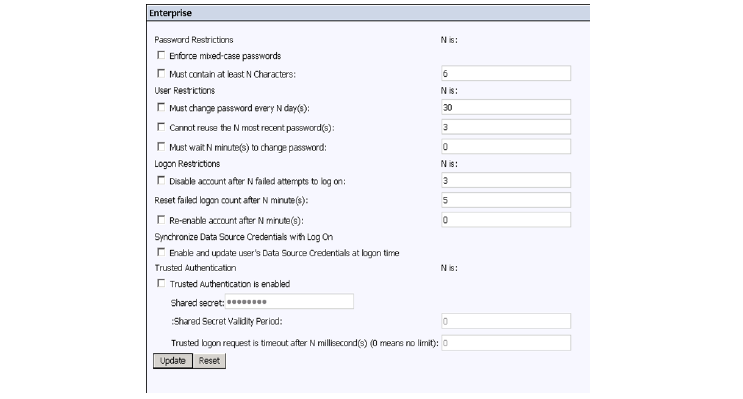
1. From the CMC homepage, click Authentication.
2. Select the Enterprise tab.
3. Uncheck all the checkboxes as shown below.
4. Click Update.
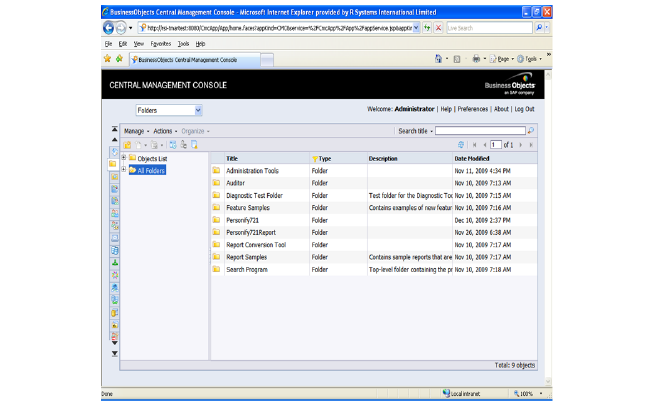
5. Return to the CMC homepage.
6. Create a Top Level folder in BusinessObjects per Personify Database installation.
· This folder has all the reports and content needed for the Personify installation. All the content is copied from the “biar” file to this folder.
· TMA Resources recommends using PPRO or PTST as a naming convention for on-site installation.
· This folder is referred to as the client folder in this section.
7. Create an admin account for each client folder.
· Create a default BusinessObjects Admin User (for example, PPRO_Admins).
· There should be one administrator account per Personify database installation.This account is used internally by Personify to handle administration activities in Business Objects; for example, to create a Personify user, Personify group, or grant privileges for a report to a group in Business Objects.