 (Select Audit Architecture)
button next to the Architecture text box.
(Select Audit Architecture)
button next to the Architecture text box.The Open Audit Architecture File window displays.

The first time you attempt to connect to the Audit Architecture, the Install Architecture dialog box automatically displays (if it has not been previously installed on your database). TMA Resources provides you with a customized architecture file (Personify.audx), which must be used as an architecture file before the Install Auditing architecture.
To install architecture:
1. From
the tool bar, click the (Select Audit Architecture)
button next to the Architecture text box.
The Open Audit Architecture File window displays.
2. Navigate to and open the Personify.audx file.
3. From
the toolbar, click the  (Installing Auditing) button.
The Install Architecture window displays.
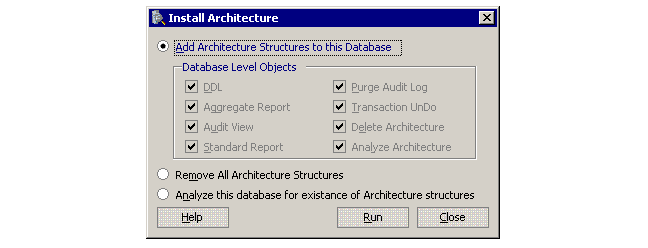
4. Click Run to install the audit architecture on the database.
5. With
your table names displaying in the main window, check the checkboxes to
the left of each table on which you want to enable auditing.
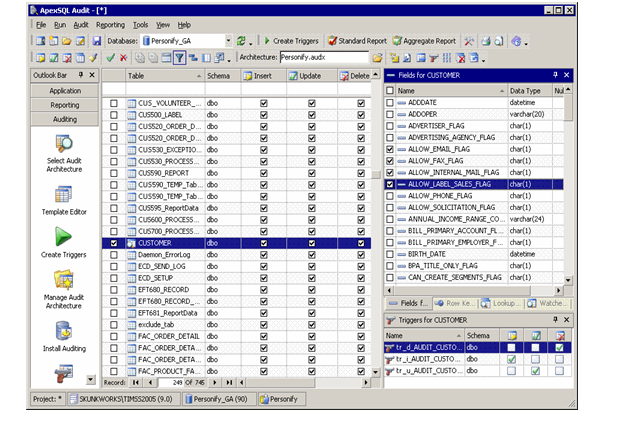
 Tables
chosen for auditing must have ADDOPER, MODOPER, ADDDATE, and MODDATE fields.
The ApexSQL Audit product installs the triggers into your database immediately
or allows you to script the triggers to a file for installation at a later
time using regular SQL Server tools such as Query Analyzer.
Tables
chosen for auditing must have ADDOPER, MODOPER, ADDDATE, and MODDATE fields.
The ApexSQL Audit product installs the triggers into your database immediately
or allows you to script the triggers to a file for installation at a later
time using regular SQL Server tools such as Query Analyzer.
6. From the Fields section, check the checkbox to the left of the Field Name on which you want to enable auditing.
7. To generate triggers for the selected table, do one of the following:
· Press F6.
· From the menu bar, select Run > Create Triggers.
· From the toolbar, click Create Triggers.
8. The
Progress Info dialog displays.
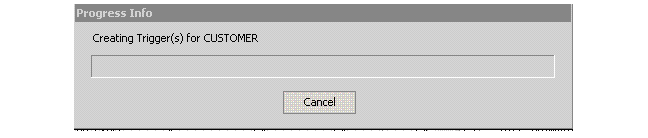
When the trigger creation process is complete,
the Script Editor displays allowing you to execute the triggers.
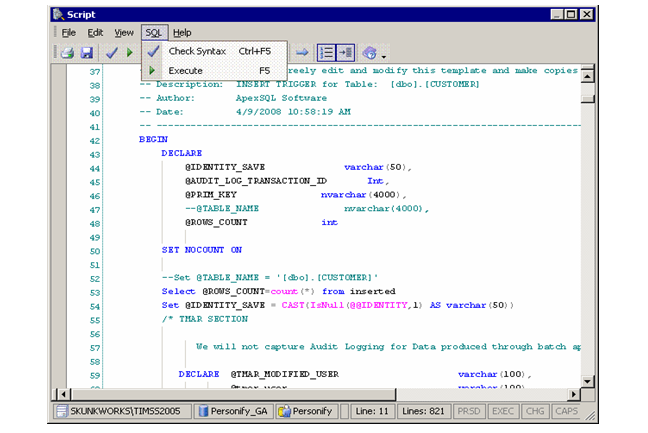
To execute the created triggers:
· From
the menu bar, select SQL > Execute.
The Script Execution Results window displays and you can view the results
of the trigger creation process.